
Published on 13 Feb 2020

This is Part 2 of our Payara Server - Back to Basics series, see Part 1 - Installing Payara Server on Ubuntu here.
In order for a web application to run, it must be first deployed on an application server such as Payara Server. Deployment in the context of web applications is the act of installing the application on a server. It allows requests to be handled and so on. This guide will provide you with a few different ways to get your application running.
If you're currently on GlassFish and want to try deploying an application to Payara Server, migrating is relatively painless! Check out our migration guide:

Setup
1) For simplicity, this demonstration will be using a sample application called clusterjsp.war, the source code of which can be downloaded from:https://github.com/eclipse-ee4j/glassfish-samples/tree/master/ws/javaee6/ha/clusterjsp.
2) Place your application or the hello application into a directory of your choosing. Lets refer to this directory as sample-dir .
3) Before you begin to deploy any application, at least one Payara Server / GlassFish domain must be started. For guidance on how to do this refer to my previous GlassFish Back to Basics blog at https://blog.payara.fish/back-to-basics-installing-payara-server-5-on-ubuntu .
Deploying an Application from the Command Line
1) Use the asadmin deploy command in your shell box. The form of the command is as follows:
install-directory/bin/asadmin deploy sample-dir/war-name(install-directory is where Payara Server is installed)

2) To list the deployed application, use the list-applications command as shown below

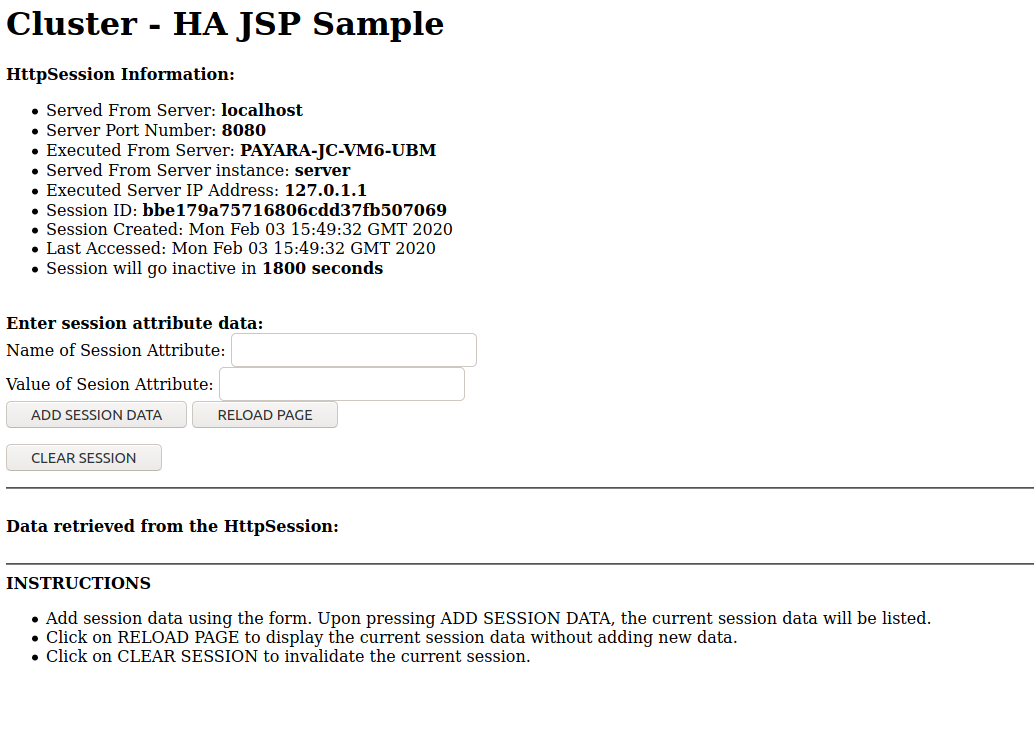
3) To access the application, navigate to http://localhost:8080/clusterjsp/ to see this page:
Undeploying an Application from the Command Line
1) In this case, use the undeploy command as similarly done for deploy:
install-directory/bin/asadmin undeploy war-name
However, for war-name, omit the .war extension and refer to it by just the name. For example:

Deploying an Application from the Administration Console
1) Access the administration console by navigating to http://localhost:4848 (make sure a domain is running beforehand).
2) Click on applications under the heading common tasks on the left side of the page.
3) Any deployed applications are listed here. Since there are none right now, click on deploy.
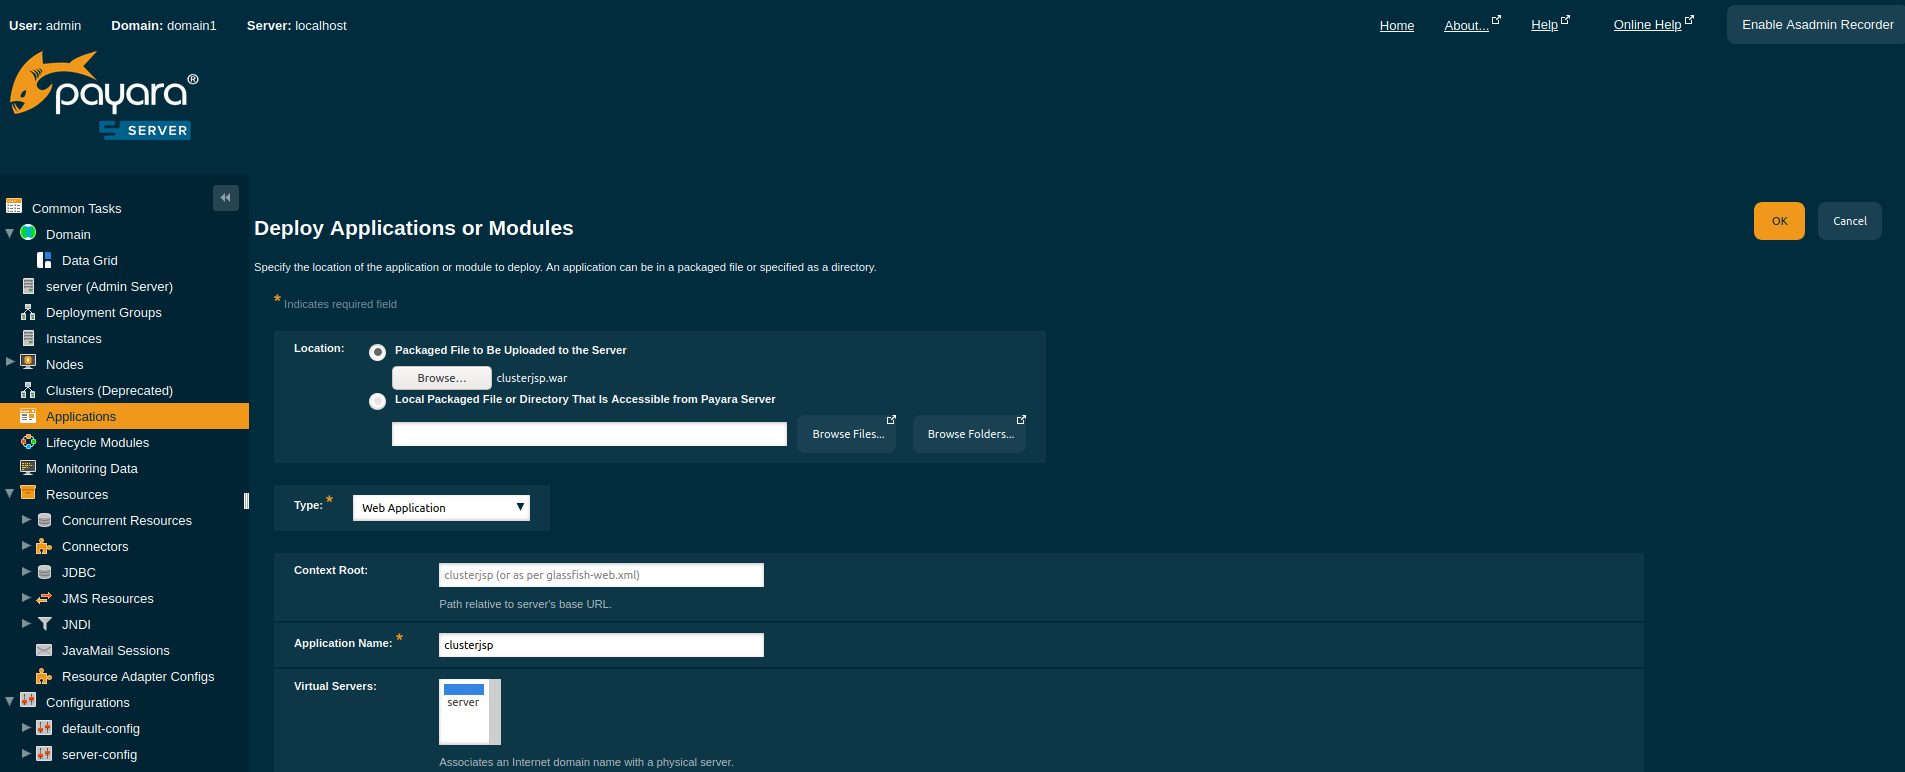
4) The current display should be the deploy applications or modules page. There are two options available. Select Packaged File to be Uploaded to the Server and click browse. Navigate to where your application is located. Select the file and click open. You should be returned to the same page with some settings listed below. If the steps have been done correctly, it should look like this:
5) Change any settings if needed otherwise accept the default settings and click ok to be returned to the applications page. Your application should now be listed.6) Finally, under the action tab click launch. The default URL for the application is http://localhost:8080/appname In this case http://localhost:8080/clusterjsp.
Undeploying an Application from the Administration Console
1) Go to http://localhost:4848 .
2) Click on applications under the common tasks header.
3) Select the check box next to the application you wish to undeploy.
4) To undeploy the application – click undeploy. To disable the application – click disable.
Deploying an Application Automatically
1) Make sure a domain is at least running. Copy your application to theinstall-directory/glassfish/domains/domain-name/autodeploy directory. The default domain is called domain1.Doing the same step in terminal is shown as follows:

2) Finally go to http://localhost:8080/hello to access your application.
Undeploy an Application Automatically
1) Simply delete the application file from the directory. In terminal :

And that's all! Want a complete, step-by-step guide to getting started with the Payara Platform? We've got an online and printable guide for that:

Related Posts
Using Flight Recorder with Payara Server 5
Published on 27 Oct 2020
by Rudy De Busscher
0 Comments

There are a lot of monitoring and alert mechanisms available within Payara Server. For example, it is possible to report user requests or database calls that take too long, or to report when high CPU or high memory usage occurs. But it is ...
Add Payara Server 5 to the Visual Studio Code Tutorial
Published on 03 Apr 2020
by Gaurav Gupta
17 Comments
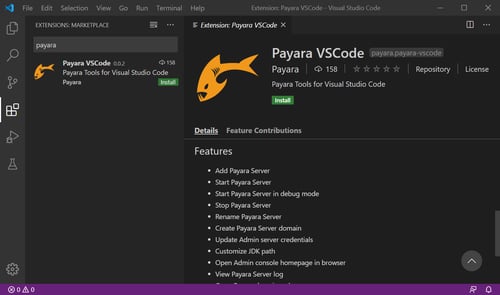
In this tutorial, I will explain how to add the Payara Server in the Visual Studio Code and deploy the maven web application to the Payara Server.