
Originally published on 28 Feb 2017
Last updated on 13 Dec 2019

This blog uses NetBeans 11.1. If you're using an older version, you may need to perform slightly different steps to get the same result.
When testing an app to be run on Payara Server, it can be extremely useful to be able to test your app continuously from your IDE. If you're using NetBeans this is made very easy. Follow the steps in this blog to setup NetBeans to use Payara Server for running your web apps.

If you haven't made a project to test yet, carry on to the first section of this guide. If you already have an app to run, then you can skip this section.
Creating a Test Maven Application
This first section will guide you through creating a Maven project which can be deployed to Payara Server. If you already have one in mind, you can skip to the next section.
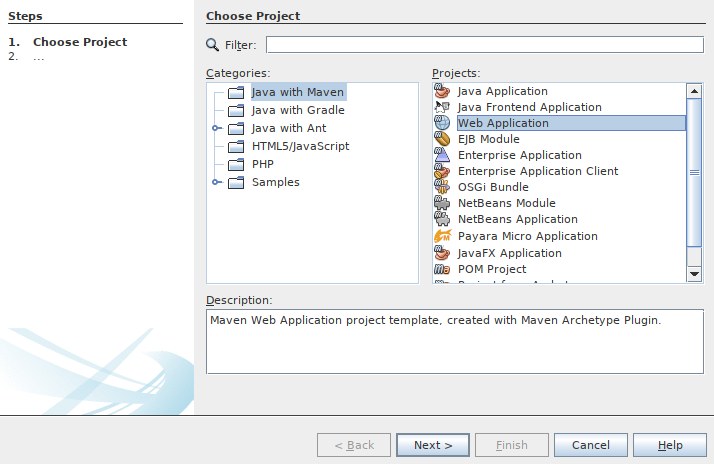
- First, create a project using the new project wizard. Go to the Java with Maven category, and select Web Application. Click next.
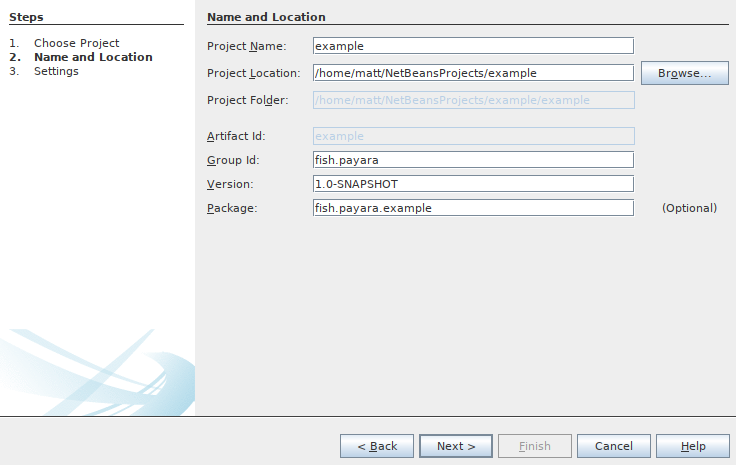
- Select a project name and location. The bottom 4 settings are for maven. For naming conventions use the following page: https://maven.apache.org/guides/mini/guide-naming-conventions.html
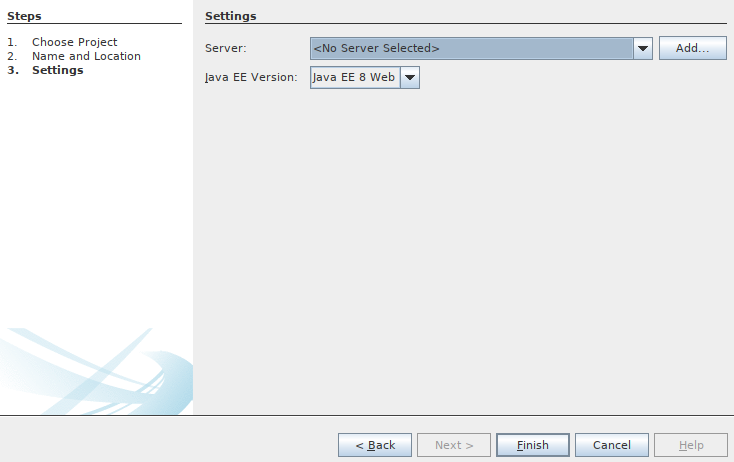
- The final section will give you an option to select a server. You can select Payara Server here if it's already configured. If not, click add and continue to the next section.
Adding the Payara Server Plugin to NetBeans
Since NetBeans 11.1 the Payara Server plugins are installed by default. If the plugins are already installed, you can skip to the next section, otherwise this section will demonstrate how to install the plugins.
- From the top menu, go to Tools → Plugins.
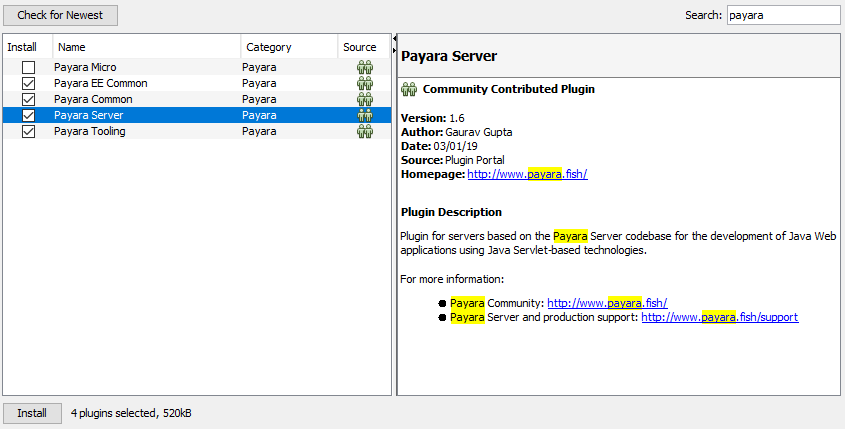
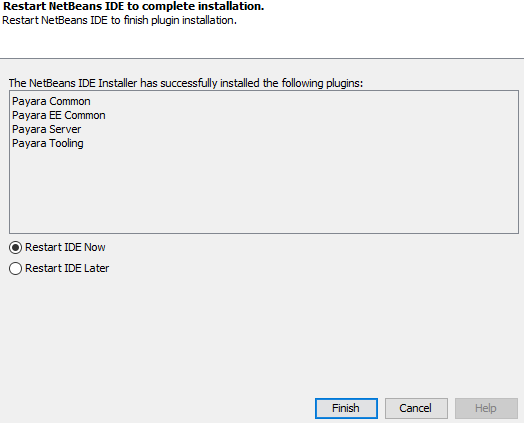
- In the 'Available Plugins' tab search for Payara, then check following plugins:
- Payara Server - the main plugin, and contains the server plugin features
- Payara Common - common shared code between server and micro plugins
- Payara EE Common - API and SPI code for both plugins
- Payara Tooling - UI related source for both plugins
- Click install once all the relevant plugins are selected, and follow the installation wizard.
- After the plugin installation, click the Finish button to restart the NetBeans IDE.
Using the Payara Server NetBeans Plugin
Now that you've got your project set up and the plugins installed, you need to setup Payara Server in NetBeans.
Setting up Payara Server in NetBeans
- Go to Tools → Servers and click Add Server (if you created a project as per the earlier section you're already here).
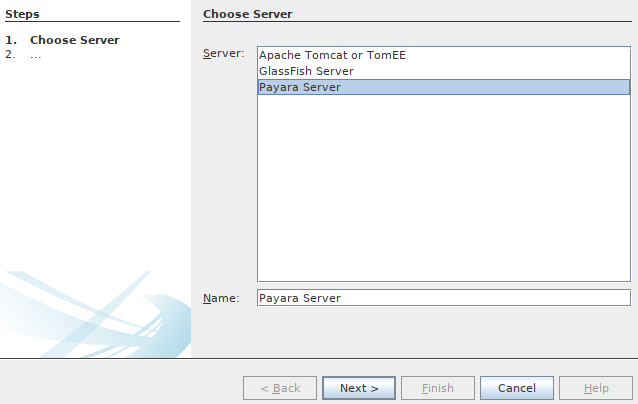
- Select Payara Server, and name the server whatever you want. For this example I've named it 'Payara'. Click Next.
- From this menu you can either select an empty directory and a Payara Server version to download, or you can select an existing Payara Server install directory. Accept the license agreement and click Next to continue.
- Select a domain. A domain is essentially a server at runtime. Unless you've created your own, you can use domain1 as it's the default domain. Enter admin as the username and leave the password field blank.
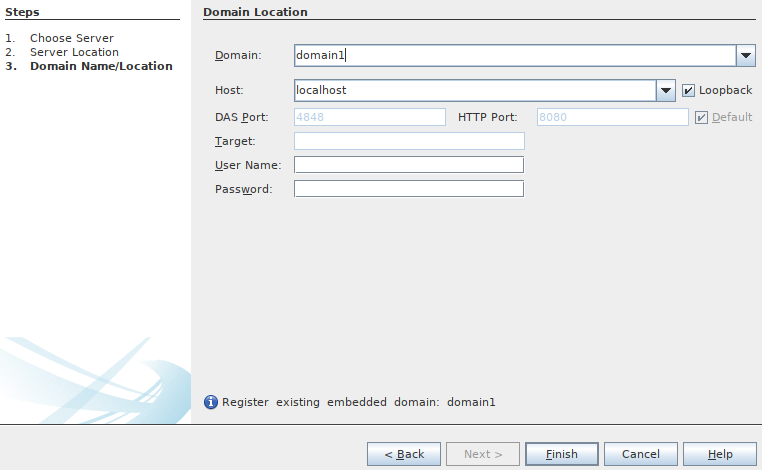
- The server is now created!
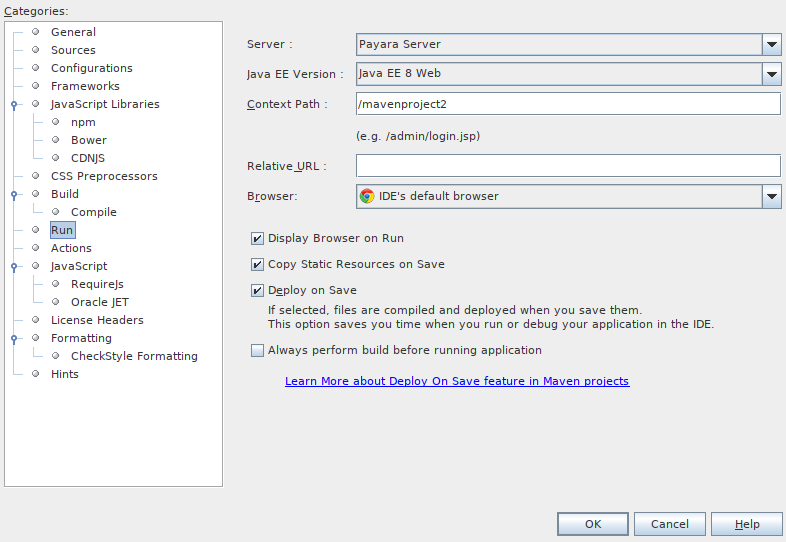
- If you want to add the server to an already existing project, right click the project and select properties. From this menu, go to Run and select the new Payara Server as a target.
Running the Payara Server Application
After exiting this window, right click your test project and select Run (or click the green 'Run' arrow at the top of the window). The server will start up and you should eventually be greeted with a 'Hello World!' message in your browser.
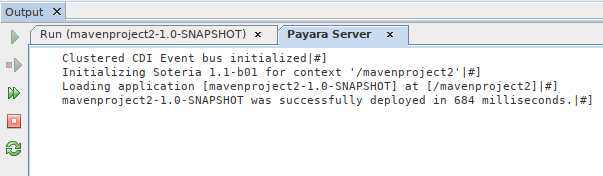
To stop the server, switch to the server log at the bottom of the window under Output → 'server name'. Click the stop sign in this window.
Debugging the Payara Server Application
Instead of clicking Run from the right click menu or the top of the NetBeans window, you can instead click Debug from similar locations to automatically run the program and attach the debugger to Payara Server.
Conclusion
That's how to use the Payara Server NetBeans plugin! With a web application in NetBeans setup in this fashion you can deploy, undeploy and debug your application, amongst other things, and all from the NetBeans IDE.

Related Posts
Boost Developer Productivity with Payara Server Maven Plugin + AI Agent
Published on 12 Sep 2025
by Gaurav Gupta
0 Comments

Managing Payara Server Just Got Smarter
Imagine managing your Jakarta EE applications not just with Maven goals, but by asking natural questions.
With the experimental AI Agent built into the Payara Server Community's Maven Plugin, you can ...
Maven 4: Streamlining Enterprise Java Development with Jakarta EE, Spring Boot and Quarkus
Published on 08 May 2025
by Luqman Saeed
0 Comments

After two decades as Java's dominant build tool (no offense to Gradle), Maven is undergoing its most significant evolution. While the official Maven documentation outlines the technical changes in Maven 4, this blog post focuses specifically on ...