
Published on 29 Jul 2020

In this tutorial, I will explain how to create, run and debug a Payara Micro application in Visual Studio Code. (If you're interested in learning more about using Payara Server in VSCode, please checkout ourprevious blogs.)
Prerequisite VSCode Extensions
Before going through this tutorial, you must install the following extensions from the Visual Studio Code marketplace:
You can install extensions from Extensions view (Ctrl + Shift + X) in the activity bar of VS Code: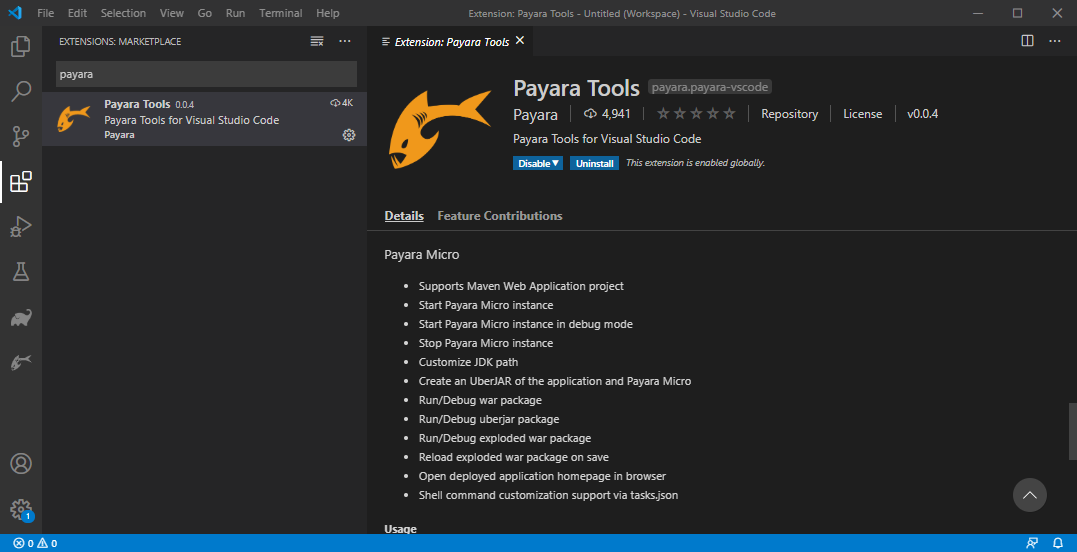
Creating a Payara Micro Application
Maven is the most widely used project build and dependency management tool in the Java ecosystem. So in this tutorial we will generate a Payara Micro Maven Web Application through the Payara Micro Maven archetype.
Let’s start:
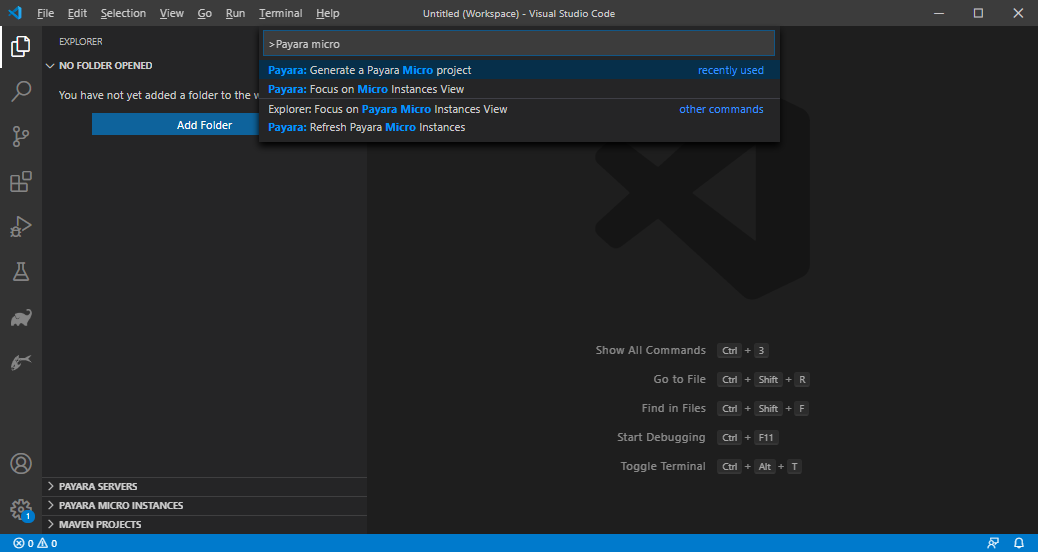
- Open the command pallet using Ctrl + Shift + P, type Payara Micro and select the Generate a Payara Micro Project option:
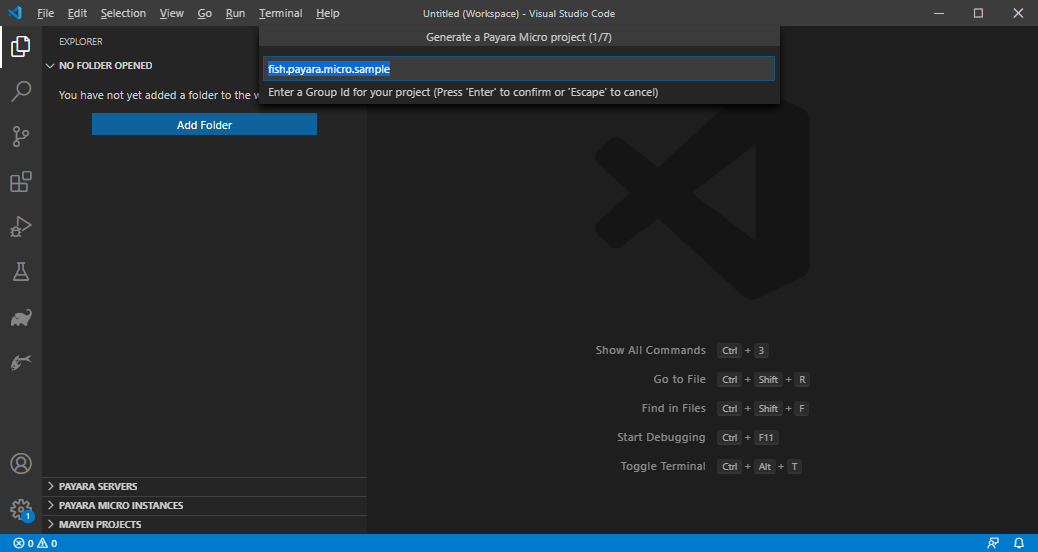
- Answer the prompts (groupId, artifactId, etc) to set up the project:
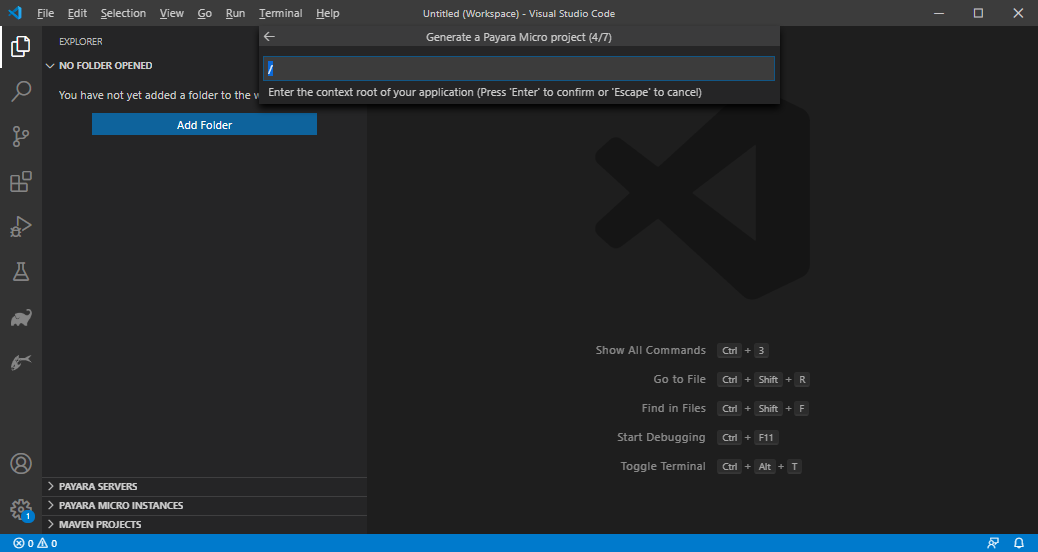
- Enter the context path of application:
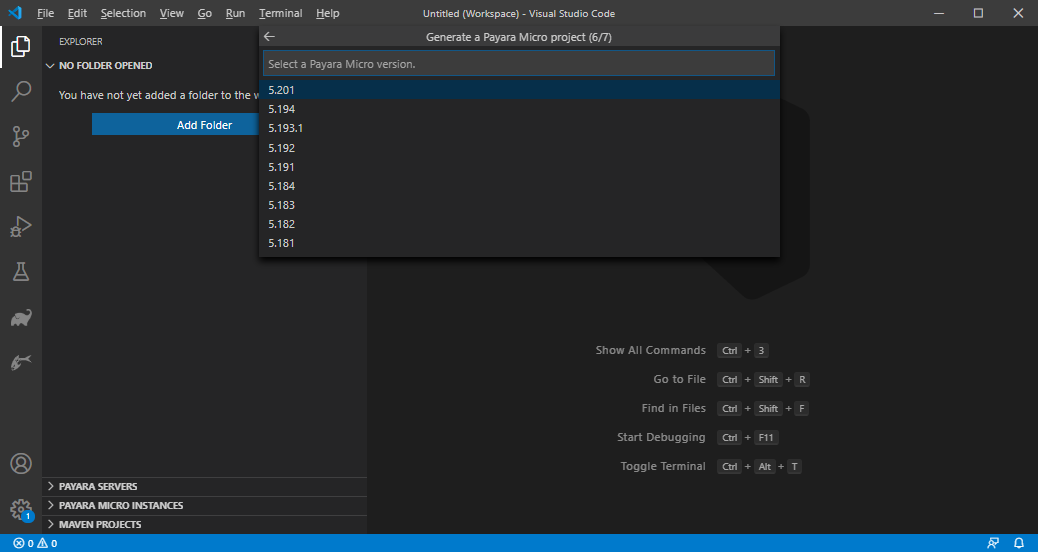
- Select the Payara Micro version:
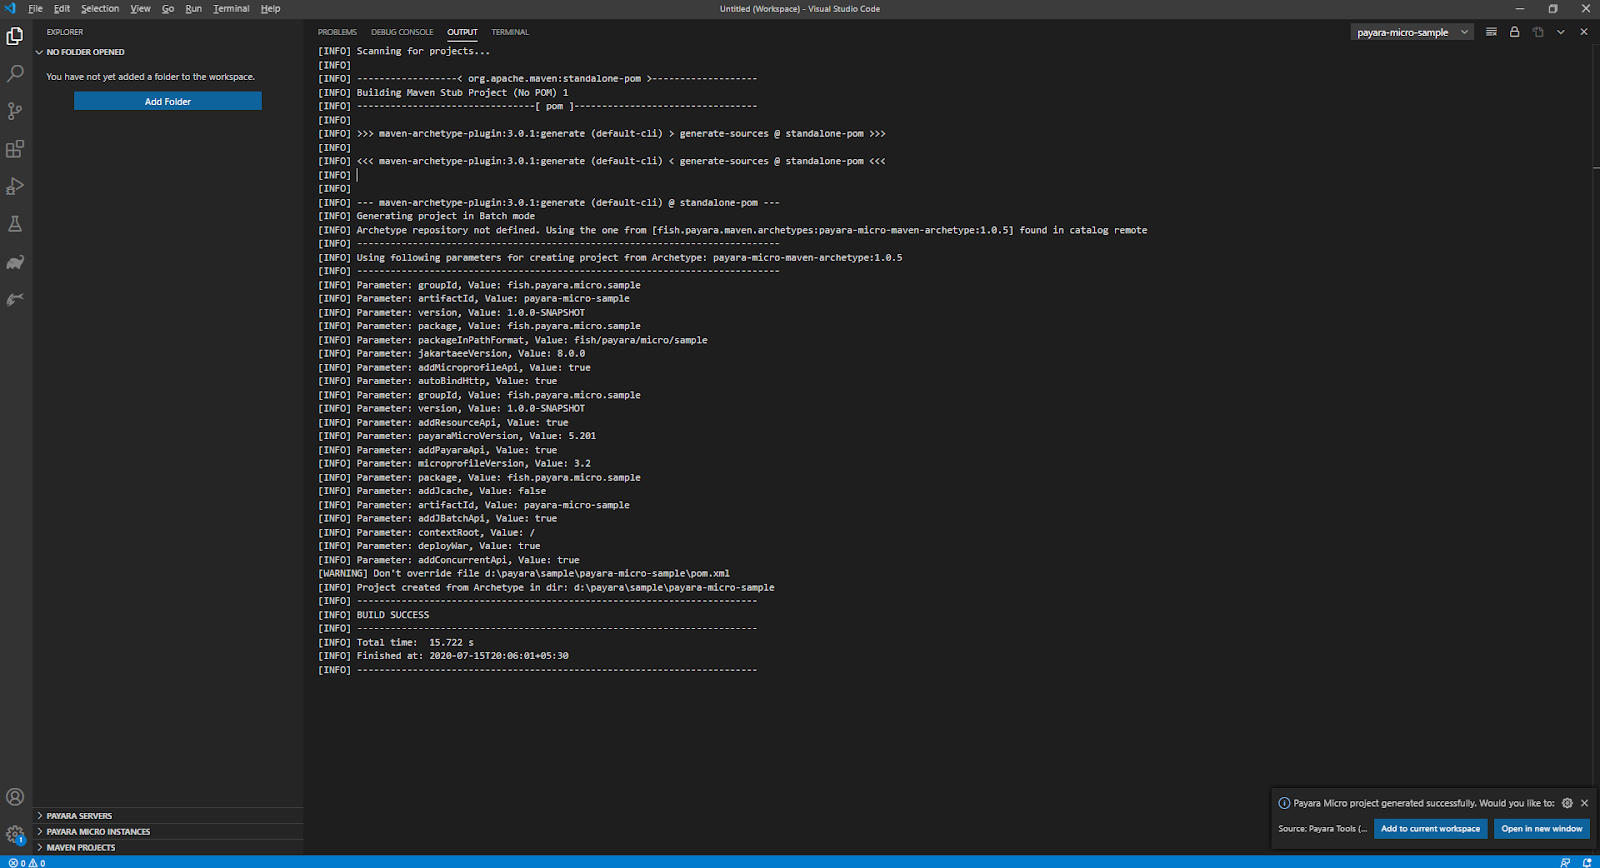
- Select the destination folder, where the project will be generated. Once the project is generated, you may either add the project to the current workspace or open in a new window:
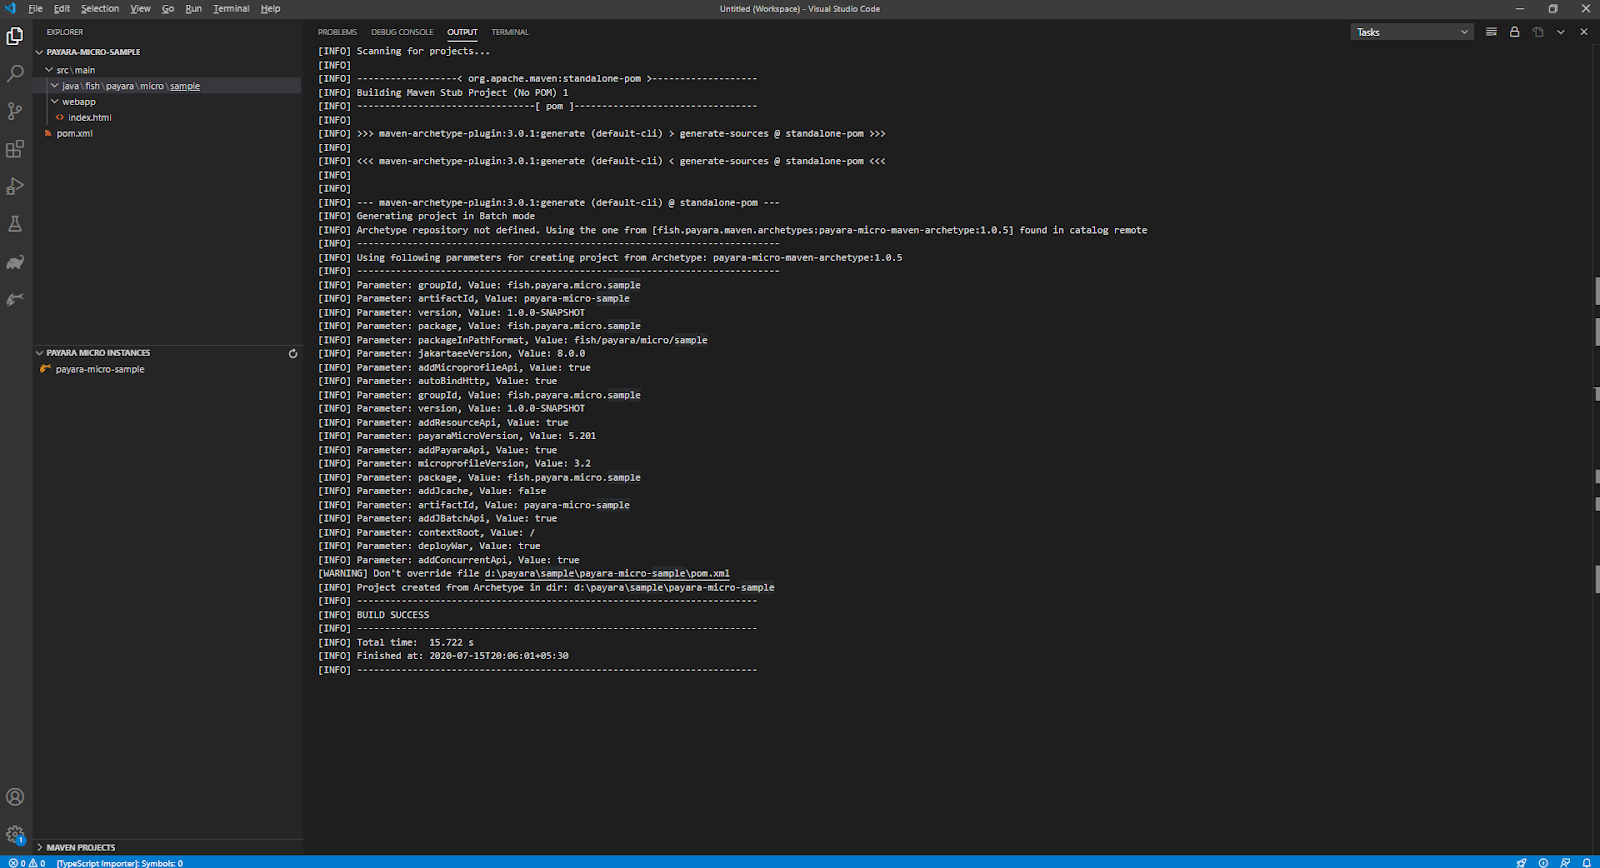
- As you can see, the project has a basic structure with src\main\java and src\main\webapp folders:
Running the Payara Micro Application:
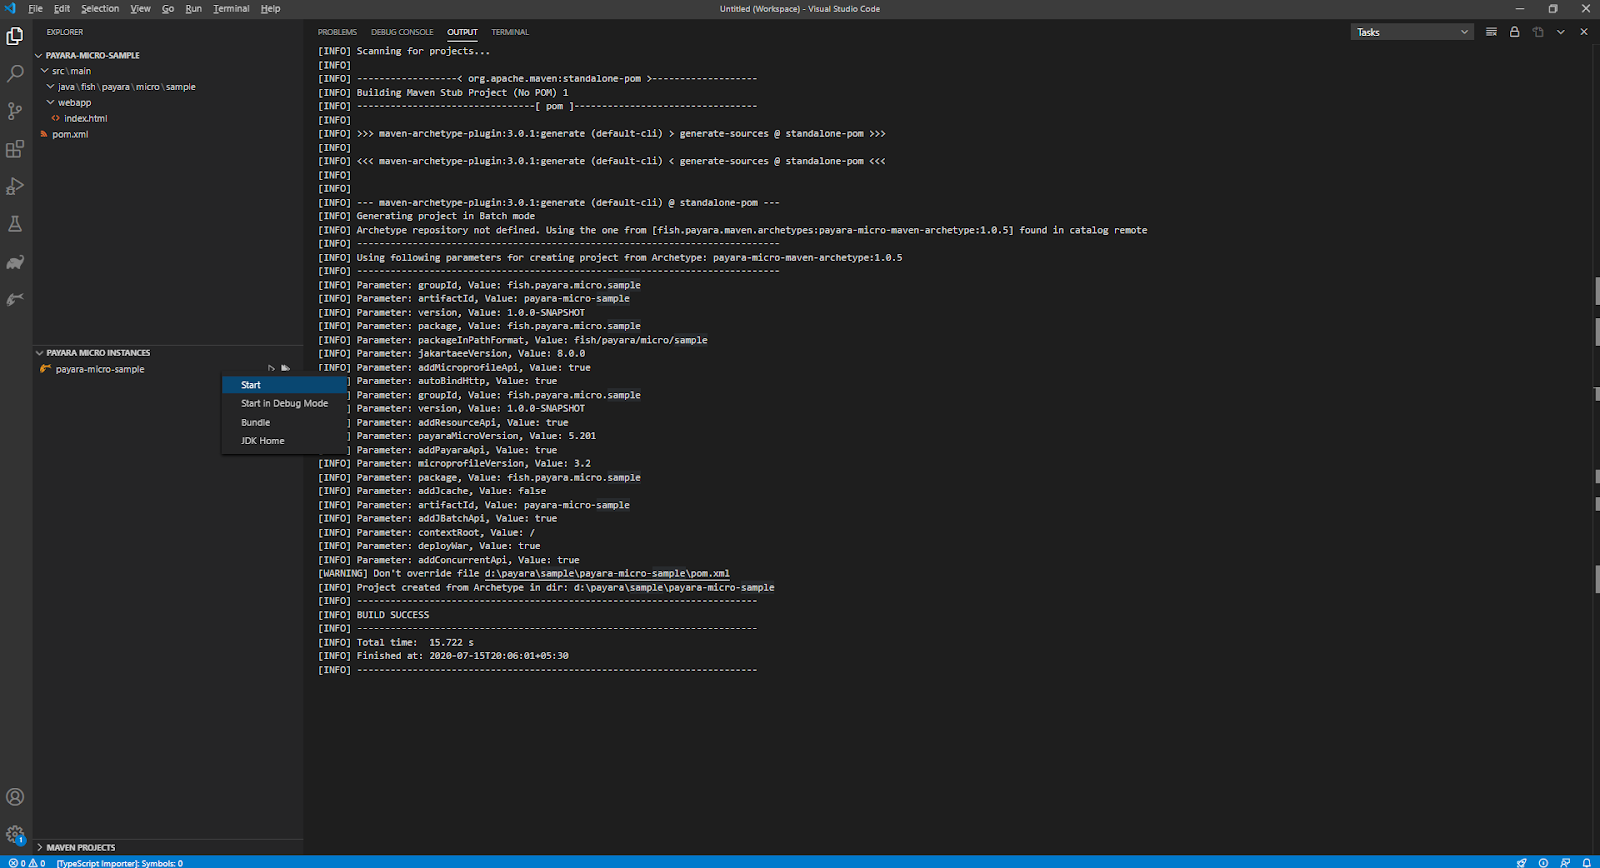
- In the explorer sidebar (or Payara activity bar), expand Payara Micro Instances, right click on the instance and select start:
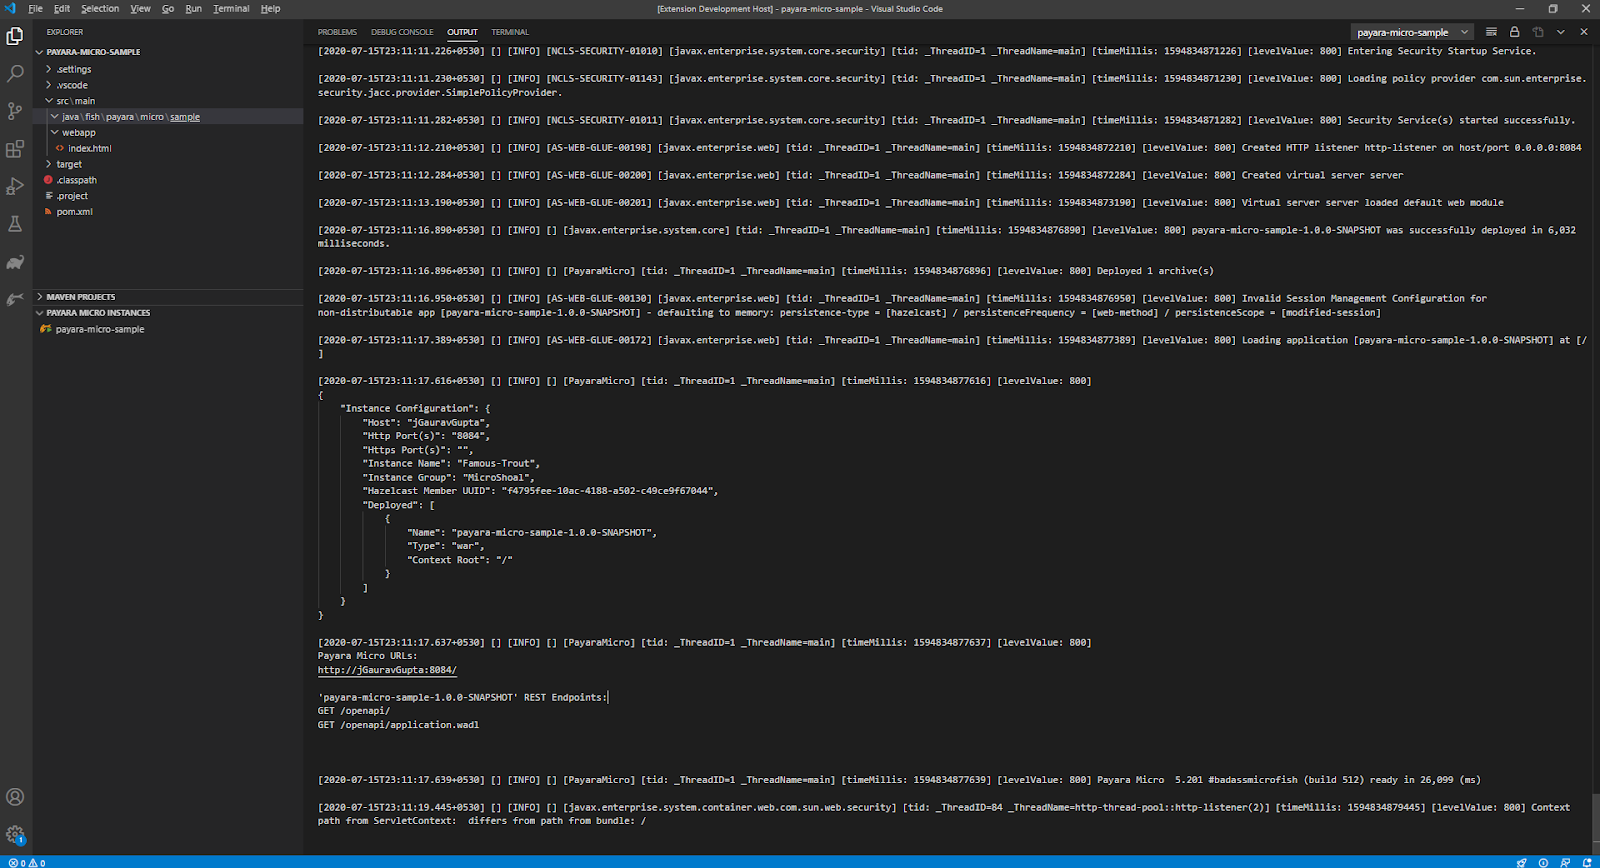
- After starting the instance, you may see the Payara Micro application log in the OUTPUT window:
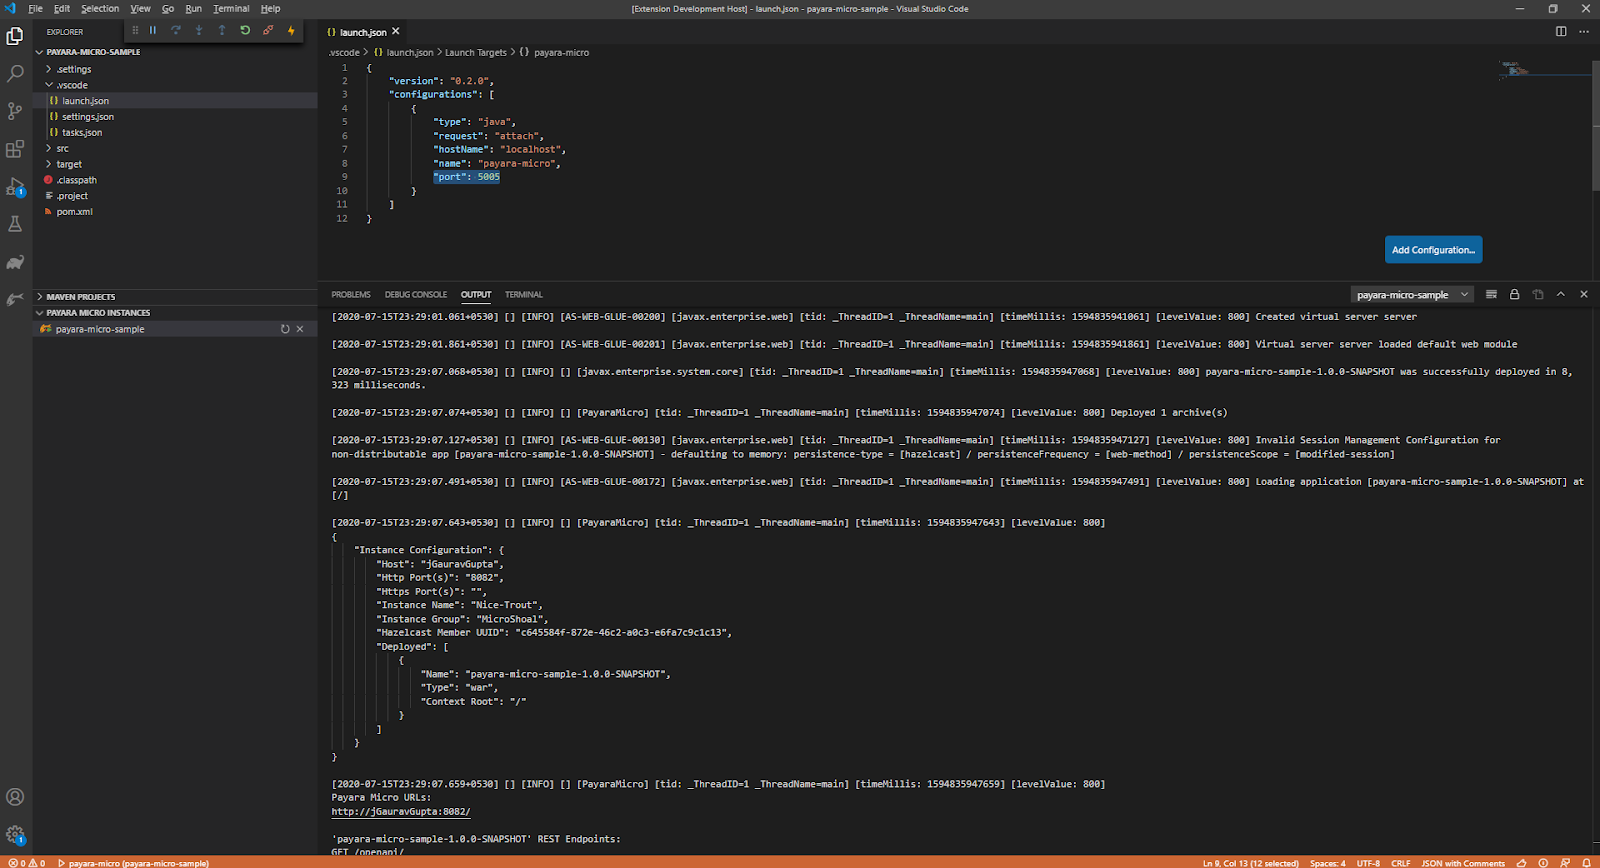
- Similarly you may also start the instance in the debug mode and you may also modify the debug configuration from the launch.json config named “payara-micro”.
Advanced Settings
JDK Home Path
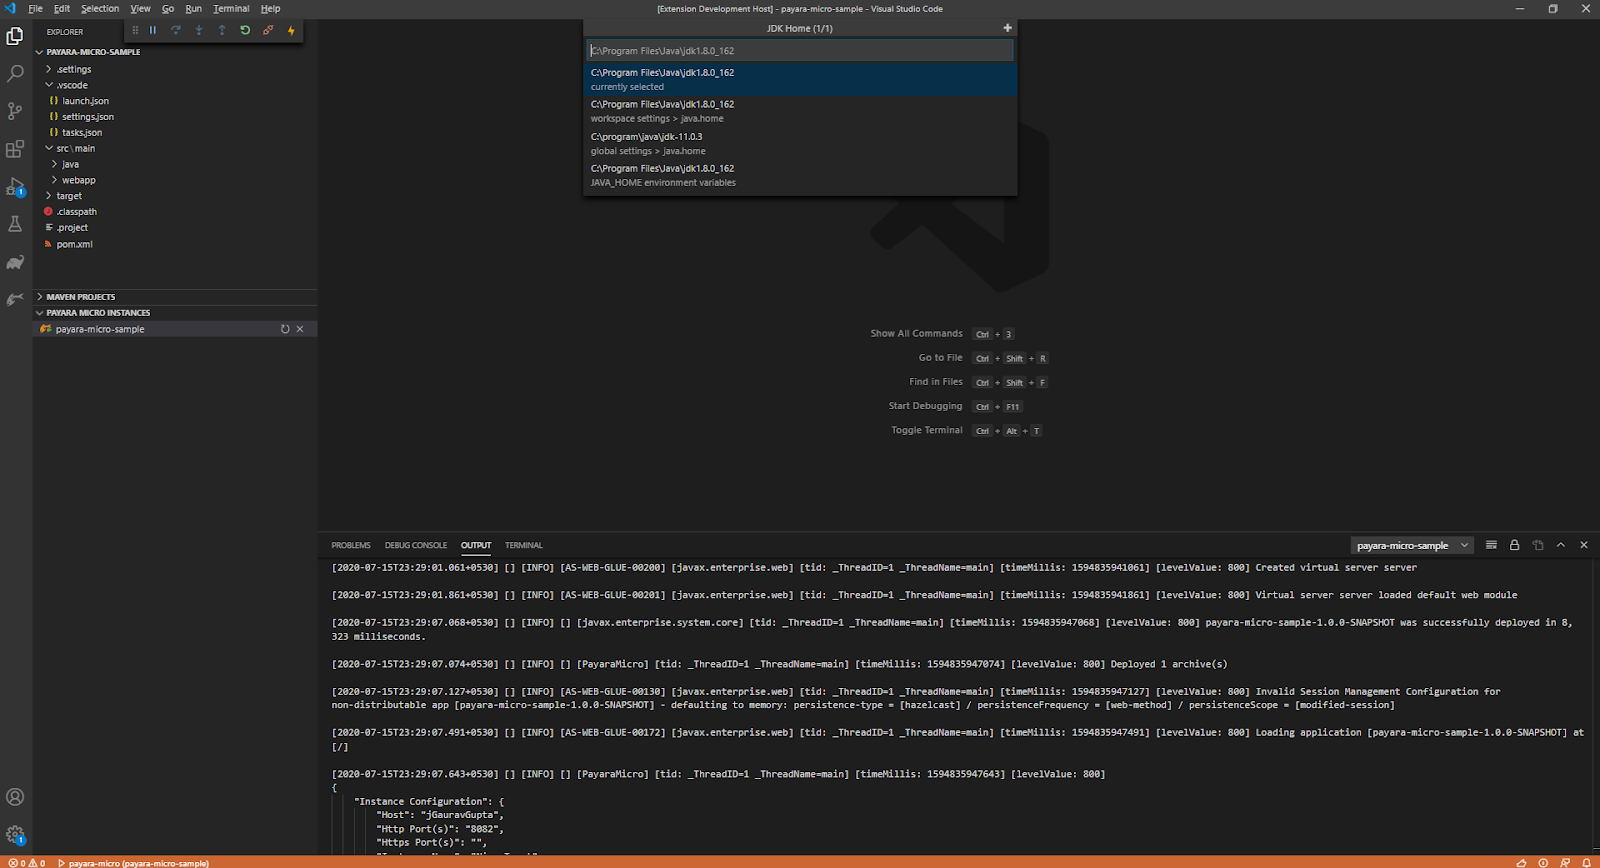
To modify the JDK Home Path of the application, right click on the Payara Micro instance, select JDK Home and browse the JDK Home path:
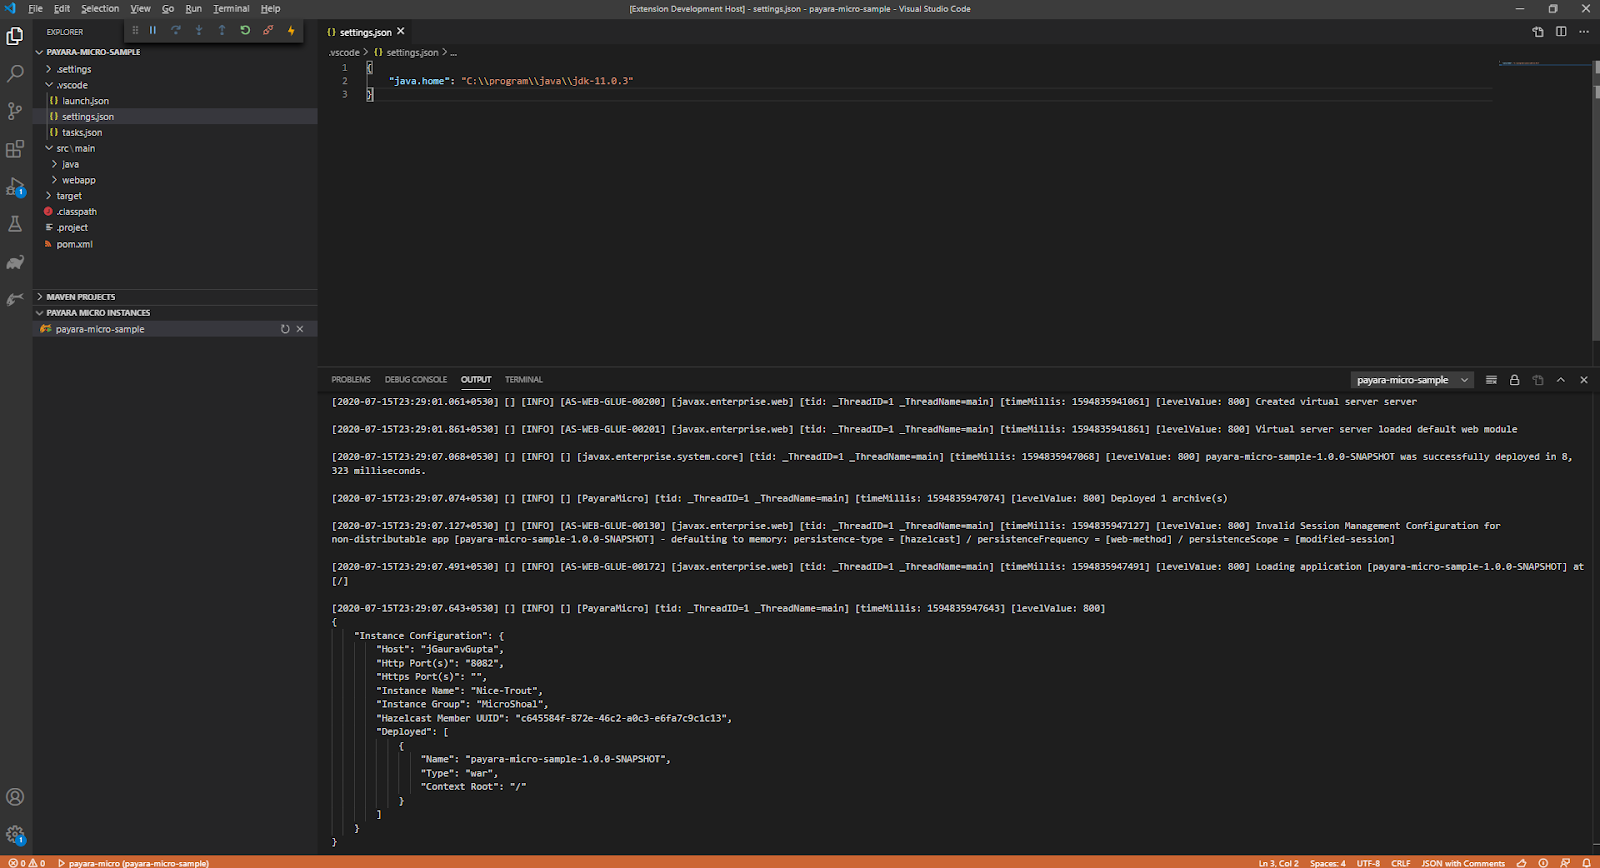
You may also modify the jdk home path setting from the settings.json by updating the java.home property.
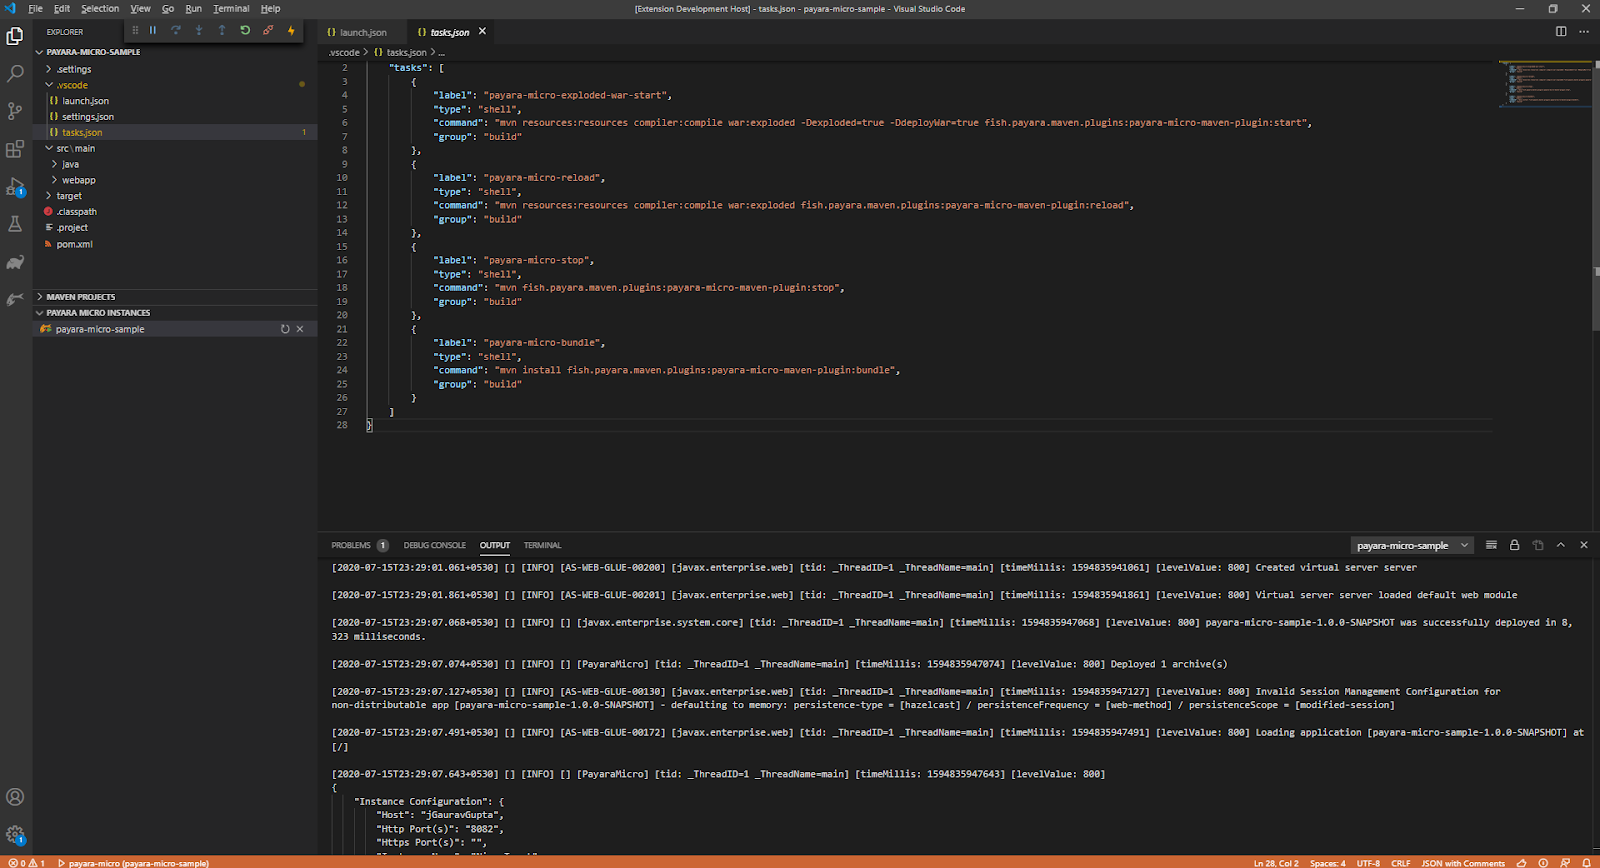
Customize Build Commands:
Payara Micro application lifecycle commands like start, stop, reload and bundle can be modified as per developer choice by overriding these command instructions in the tasks.json.
Now that we can run Payara Micro applications without leaving VSCode, it's time to write some code! For inspiration, check out the Payara Examples repository on GitHub for some sample applications.
Download Payara Micro

Related Posts
The Payara Monthly Catch - August 2025
Published on 02 Sep 2025
by Dominika Tasarz
0 Comments

Welcome aboard the August 2025 issue of The Payara Monthly Catch! With summer in full swing, things may have felt a little more quiet across the Java world - but certainly not less interesting! We hope you managed to get some rest and recharge, ...
The Payara Monthly Catch - July 2025
Published on 31 Jul 2025
by Chiara Civardi
0 Comments
Your Round-Up of the Latest Java & Jakarta EE News.
Welcome aboard the July issue of The Monthly Catch. As always, we’re bringing you the latest updates, product news and expert resources from across the Payara ecosystem.
This month, we’re ...