Originally published on 16 Oct 2023
Last updated on 16 Oct 2023

Are you looking for a smooth and efficient way to develop and deploy Jakarta EE applications using Payara Server within the Eclipse IDE? Look no further! The Payara Eclipse Plugin is a powerful tool that streamlines the development process and facilitates seamless integration between your application and the Payara Server. In this blog, we will walk you through the step-by-step process of installing, configuring, and utilizing the Payara Eclipse Plugin to enhance your Jakarta EE development experience.
Prerequisites
- OpenEclipse IDE and navigate to Help > Eclipse Marketplace.
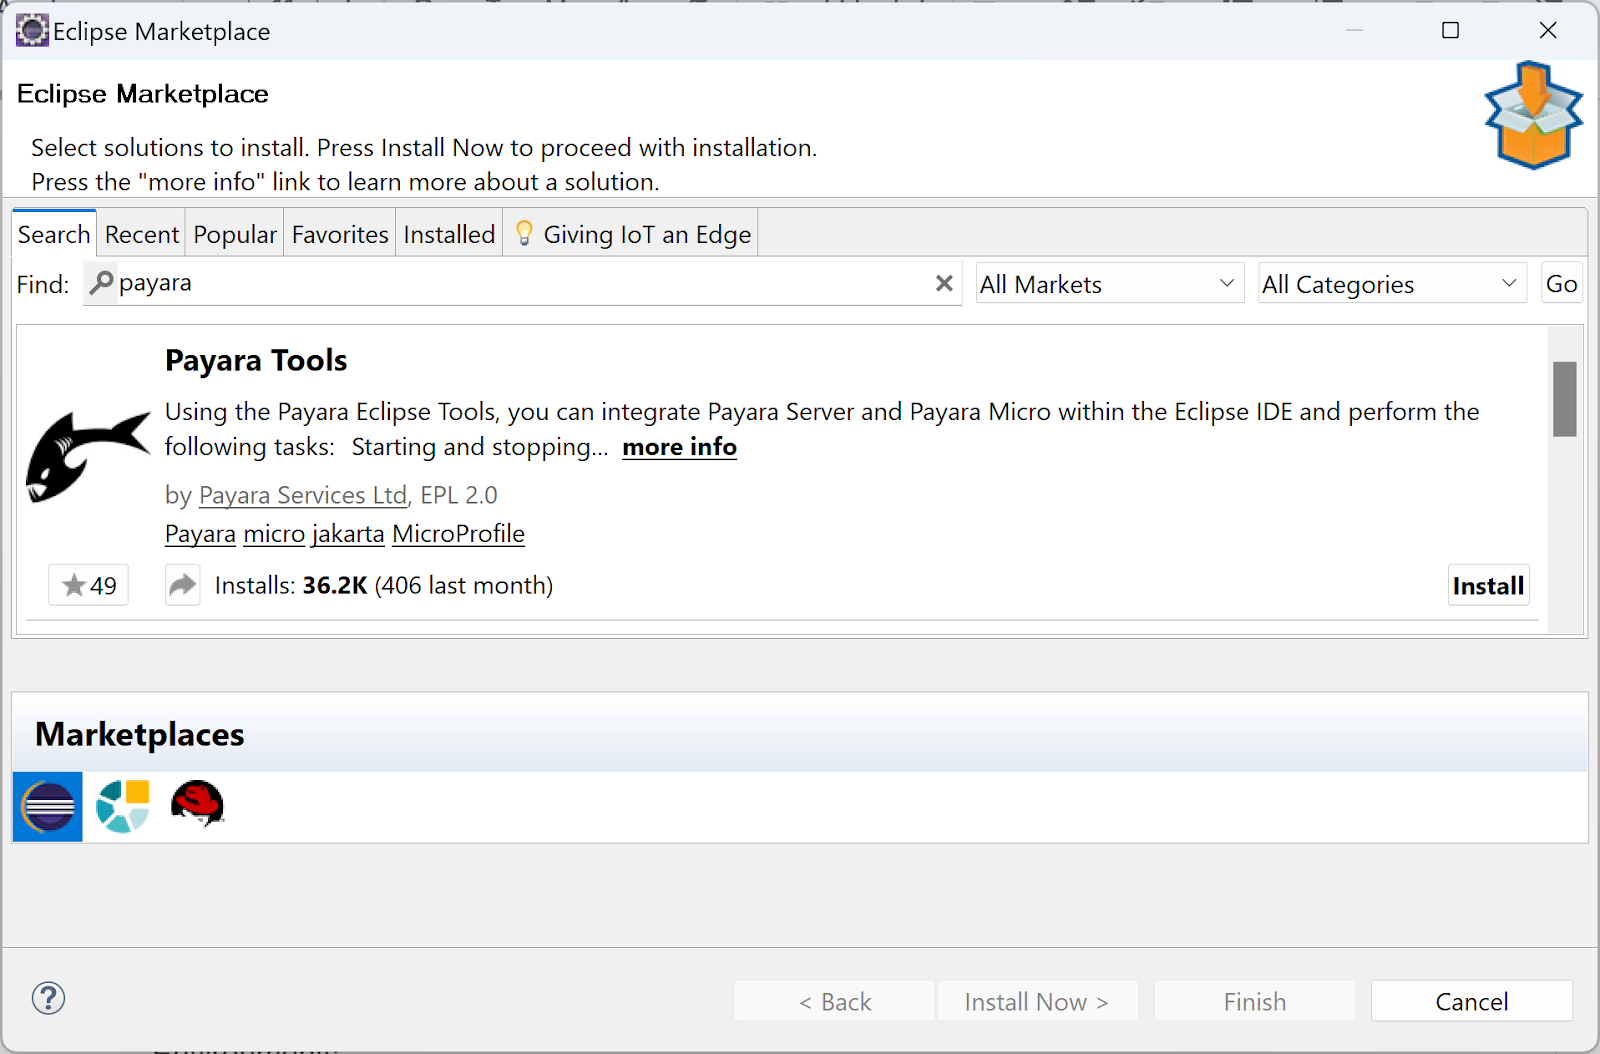
- In the search bar, type "Payara" and press Enter.
- Look for the "Payara Tools" plugin and click "Install".
- Follow the on-screen instructions to complete the installation.
- Restart Eclipse IDE to activate the plugin.

Configure the Payara Server Runtime
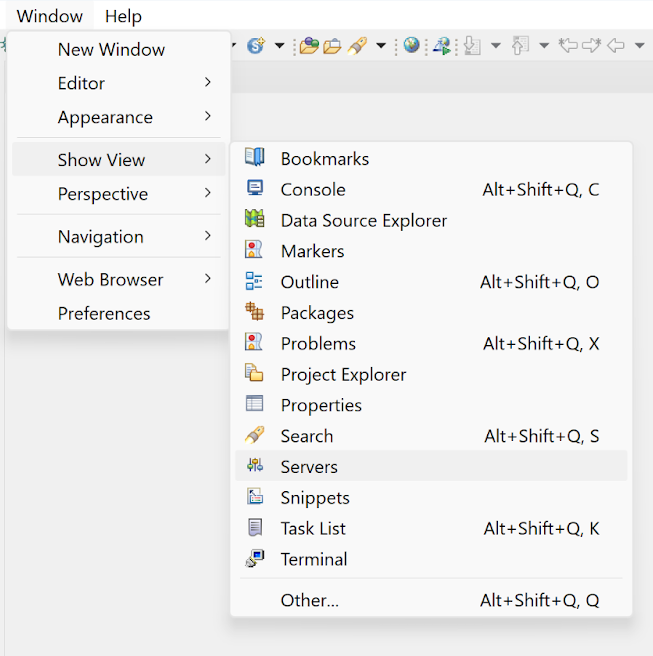
- In Eclipse IDE, open the Servers view by going to “Window → Show Views → Servers”.
- Now that you have the Servers view, click the link to create a new server.
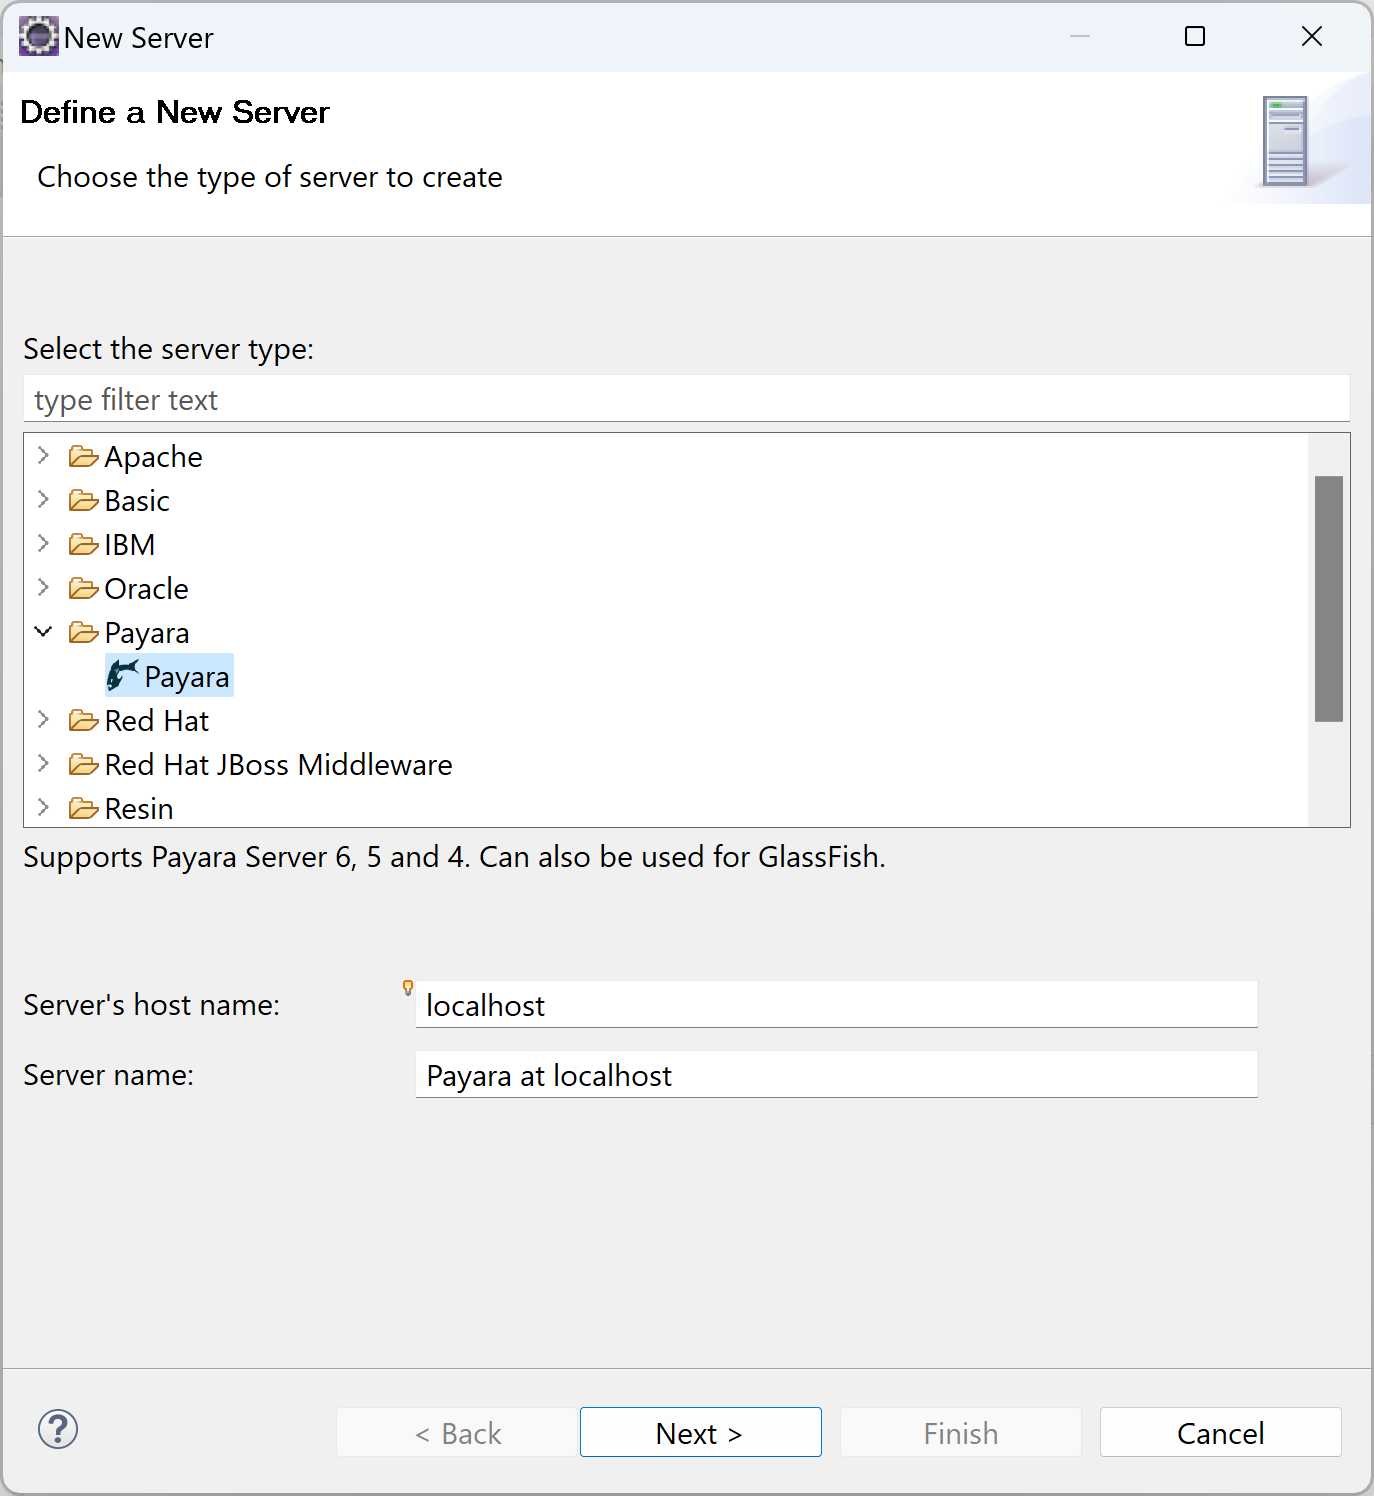
- Select “Payara” as the server type in the New Server window.
4. Now, specify a descriptive name for the Payara runtime, browse to the directory where you installed Payara Server, and select the appropriate Java Runtime Environment (JRE). The server name is simply an identifier you can use to differentiate between servers. Choose a meaningful name that helps you easily identify this specific Payara runtime.

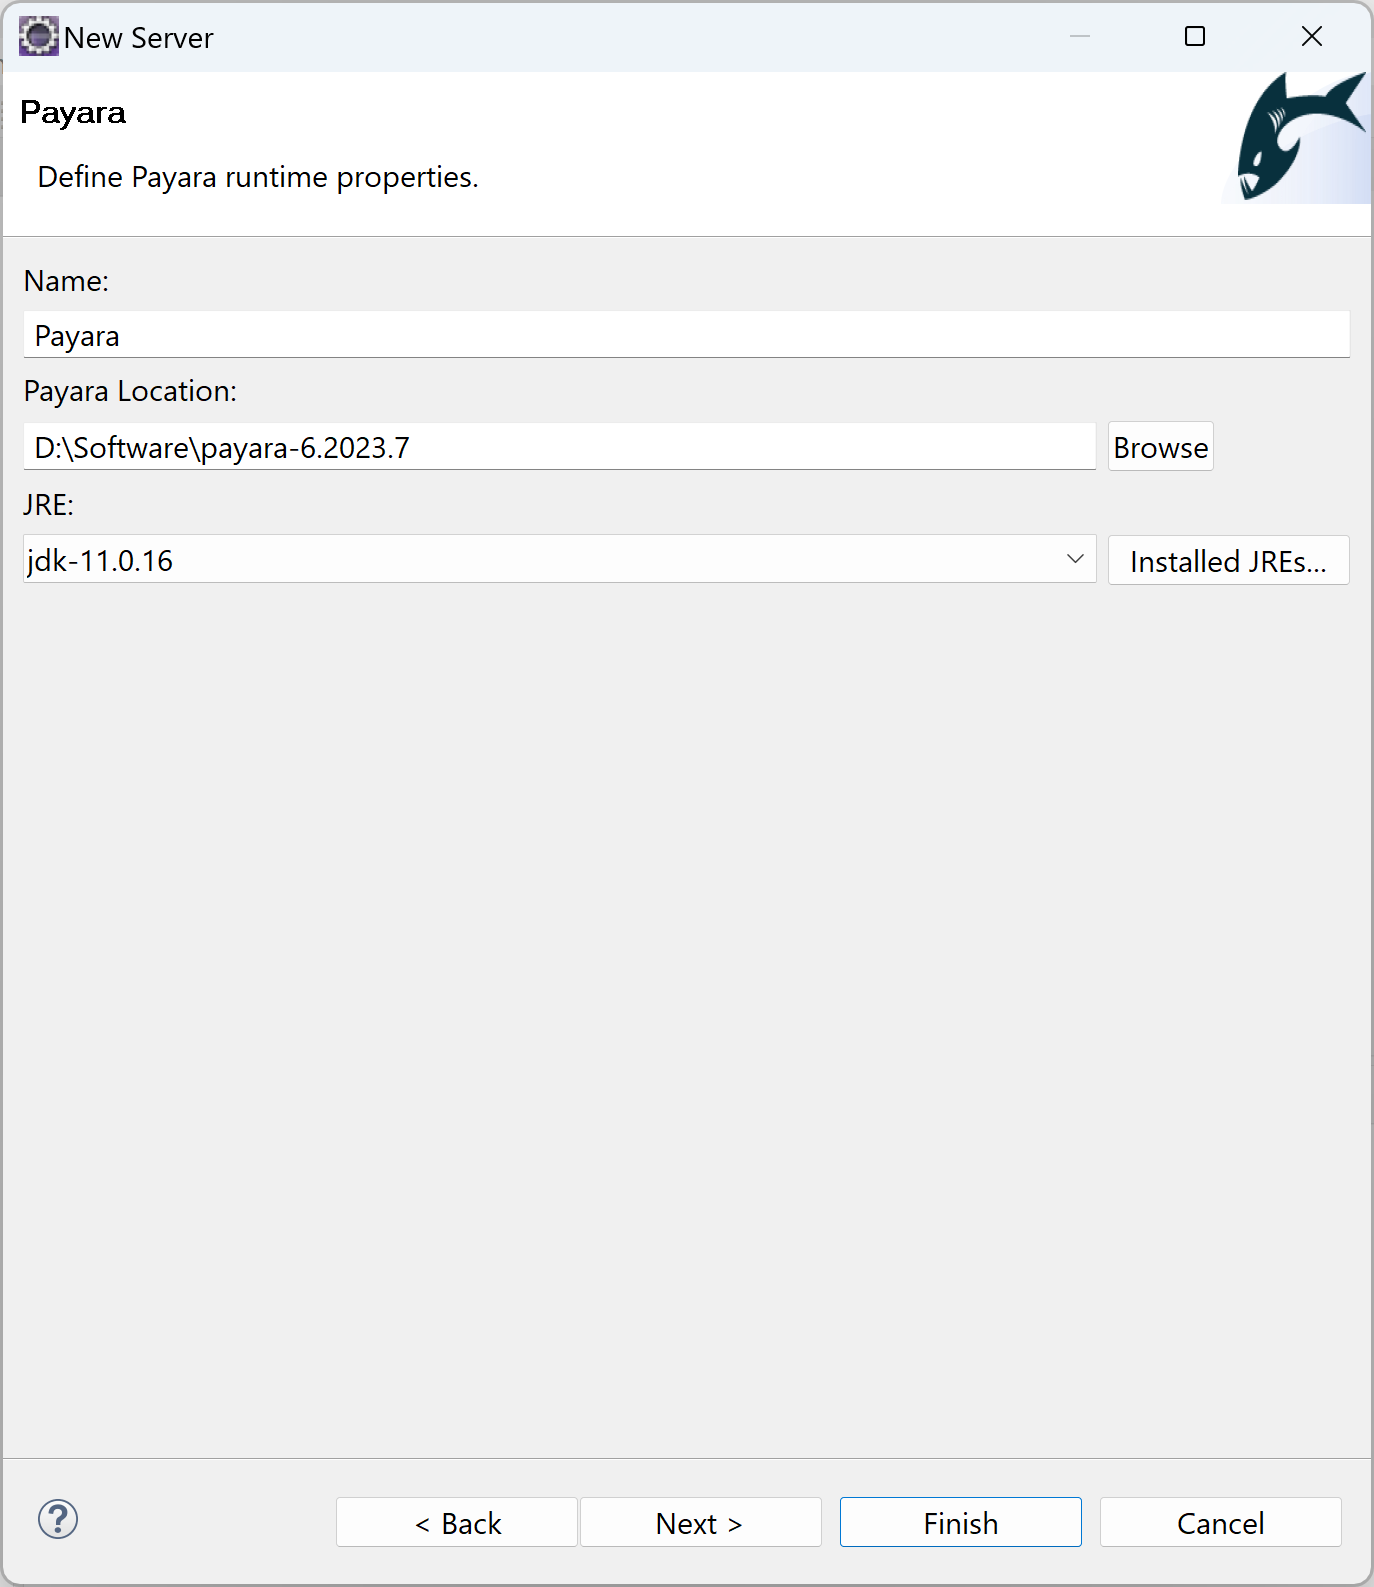
5. Finally, specify the host name (localhost is typically used for development purposes) and provide any necessary domain details relevant to your Payara Server setup. If you have not made any custom changes to your Payara Server configuration yet, the default values will be sufficient. Click "Finish" to complete the process and add the Payara runtime to your Eclipse IDE.

Create a Web Project
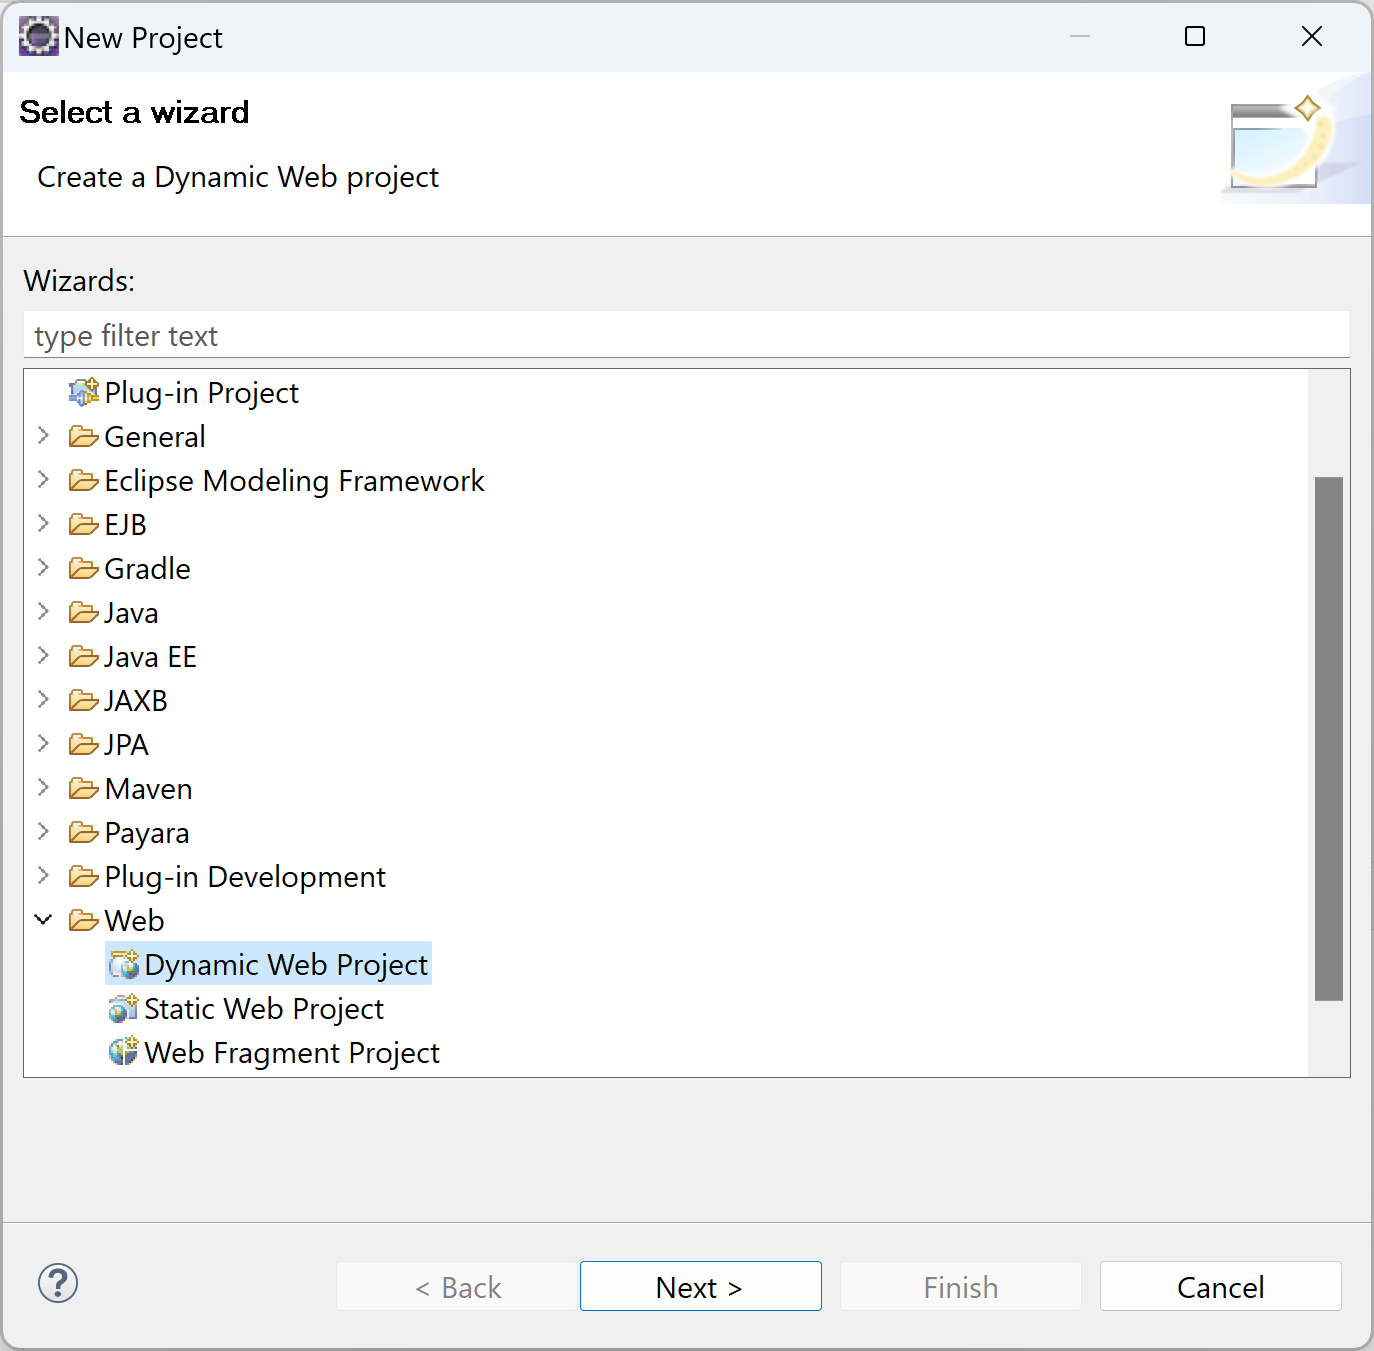
- To create a new project, click File → New → Project.
- Select "Web" from the list and choose "Dynamic Web Project".
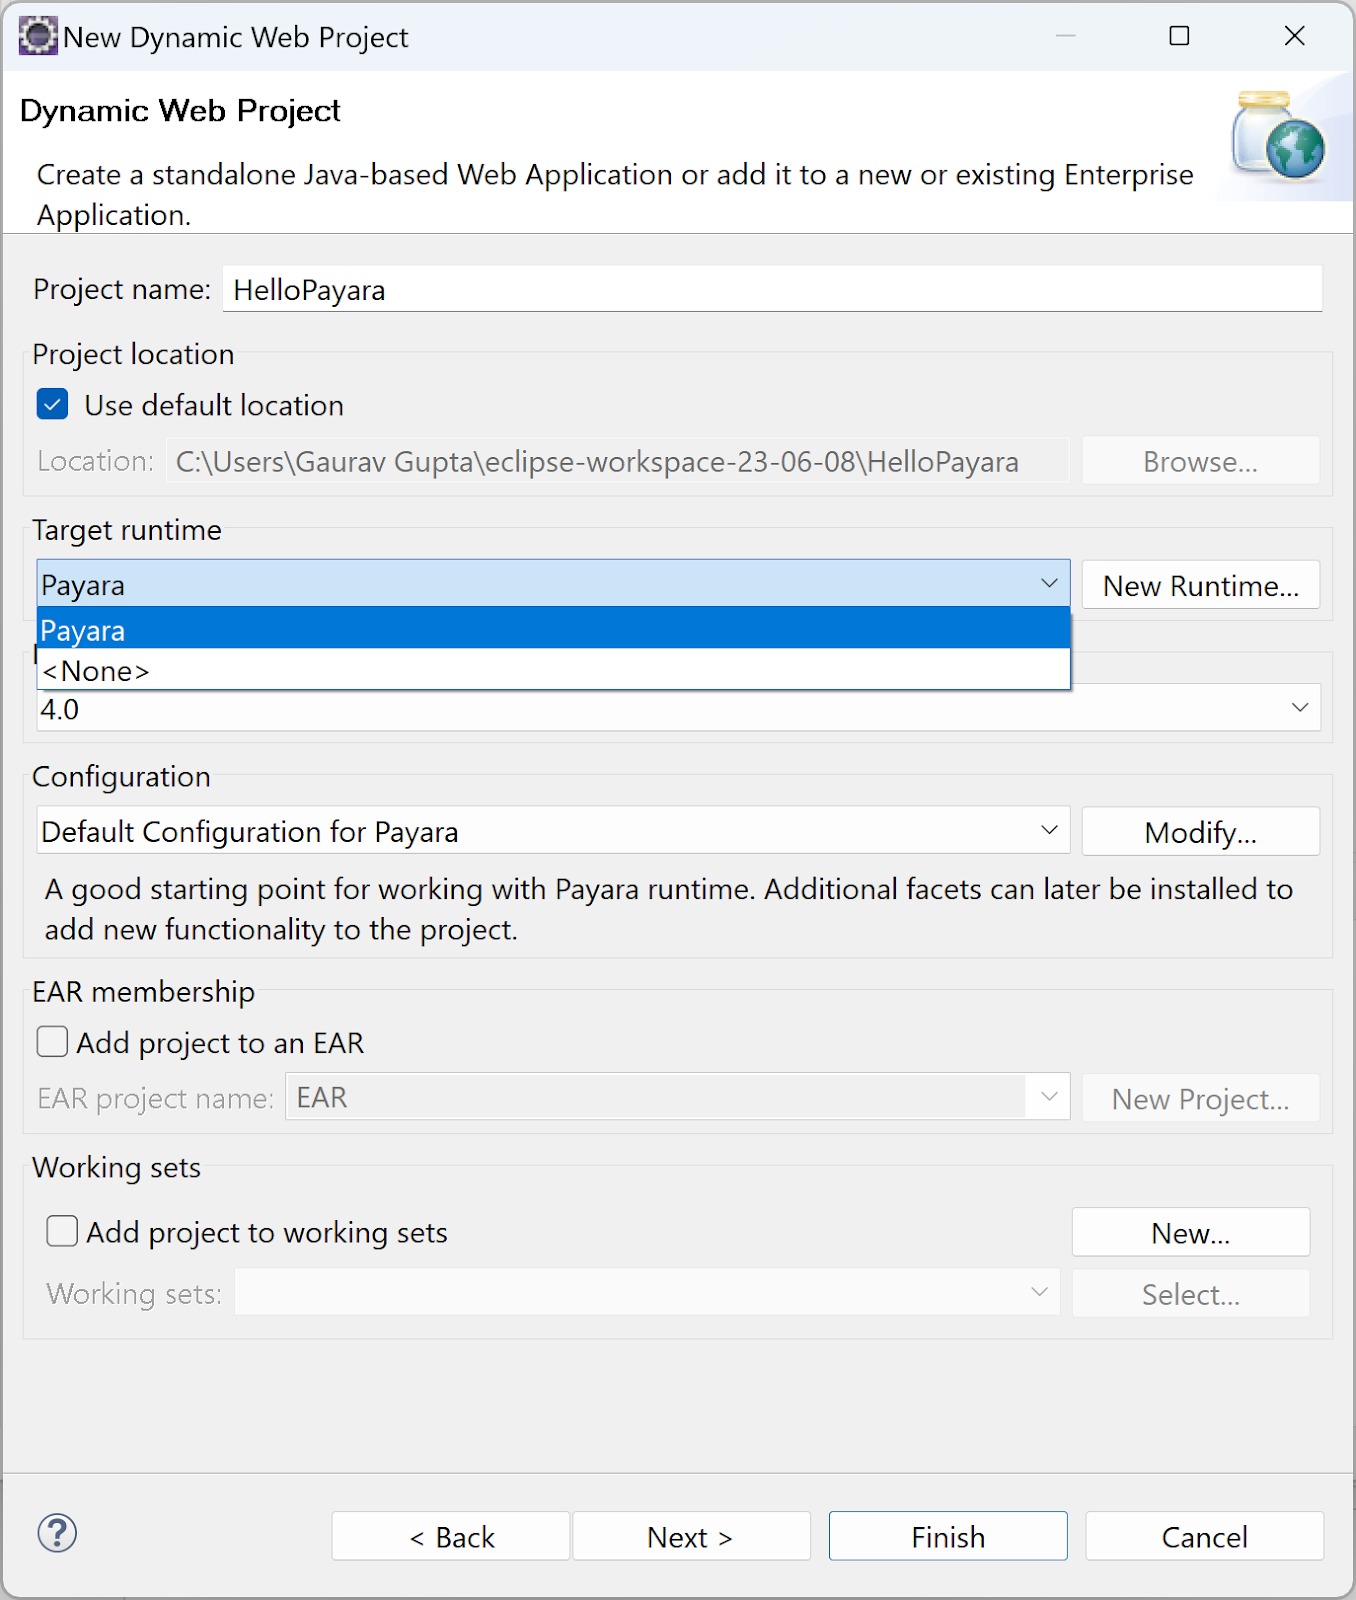
- Enter a project name and select the Payara runtime you configured earlier as the Target Runtime and click "Finish".
Associate Existing Projects with the Payara Server
- Right-click on the existing project, then select "Properties".
- In the Properties window, go to the "Targeted Runtimes" section.
- Choose the Payara Server from the list of available runtimes.
- Click "Apply and Close" to associate the selected Payara Server with your existing project.
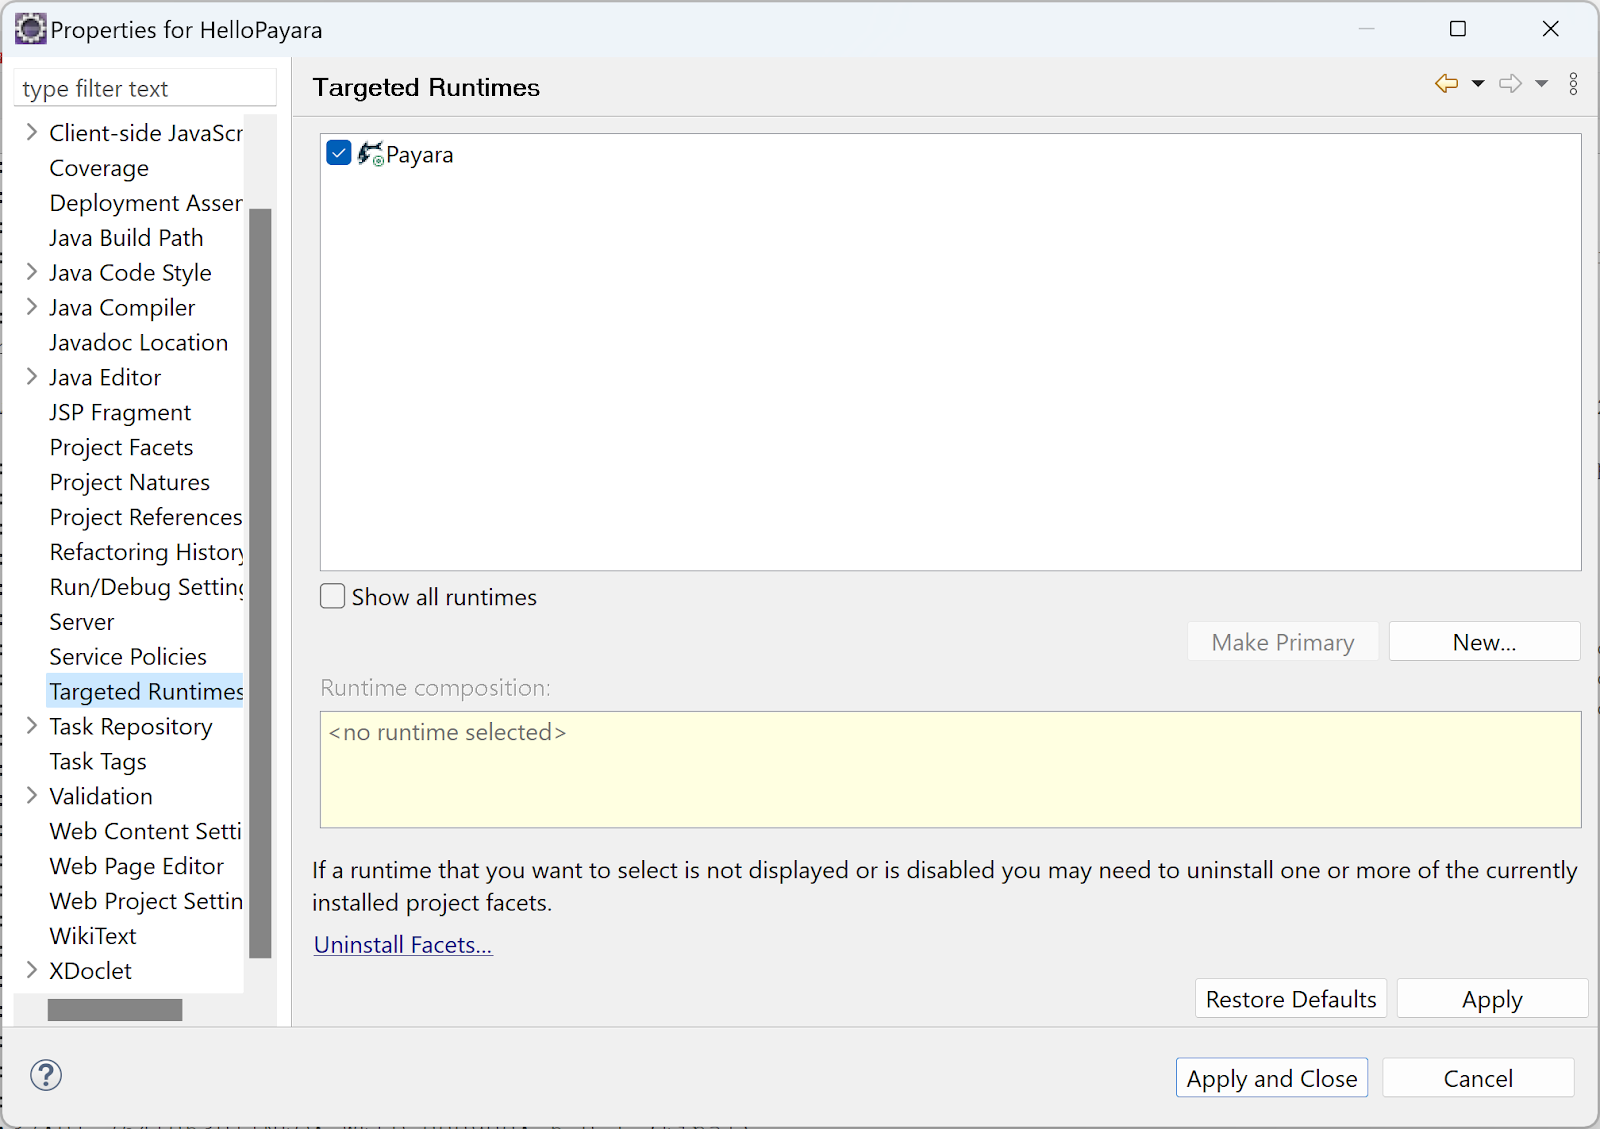
This will associate the selected Payara Server with your existing project, enabling you to run and debug the application using the Payara Server within the Eclipse IDE.
Deploy Your Application to Payara Server
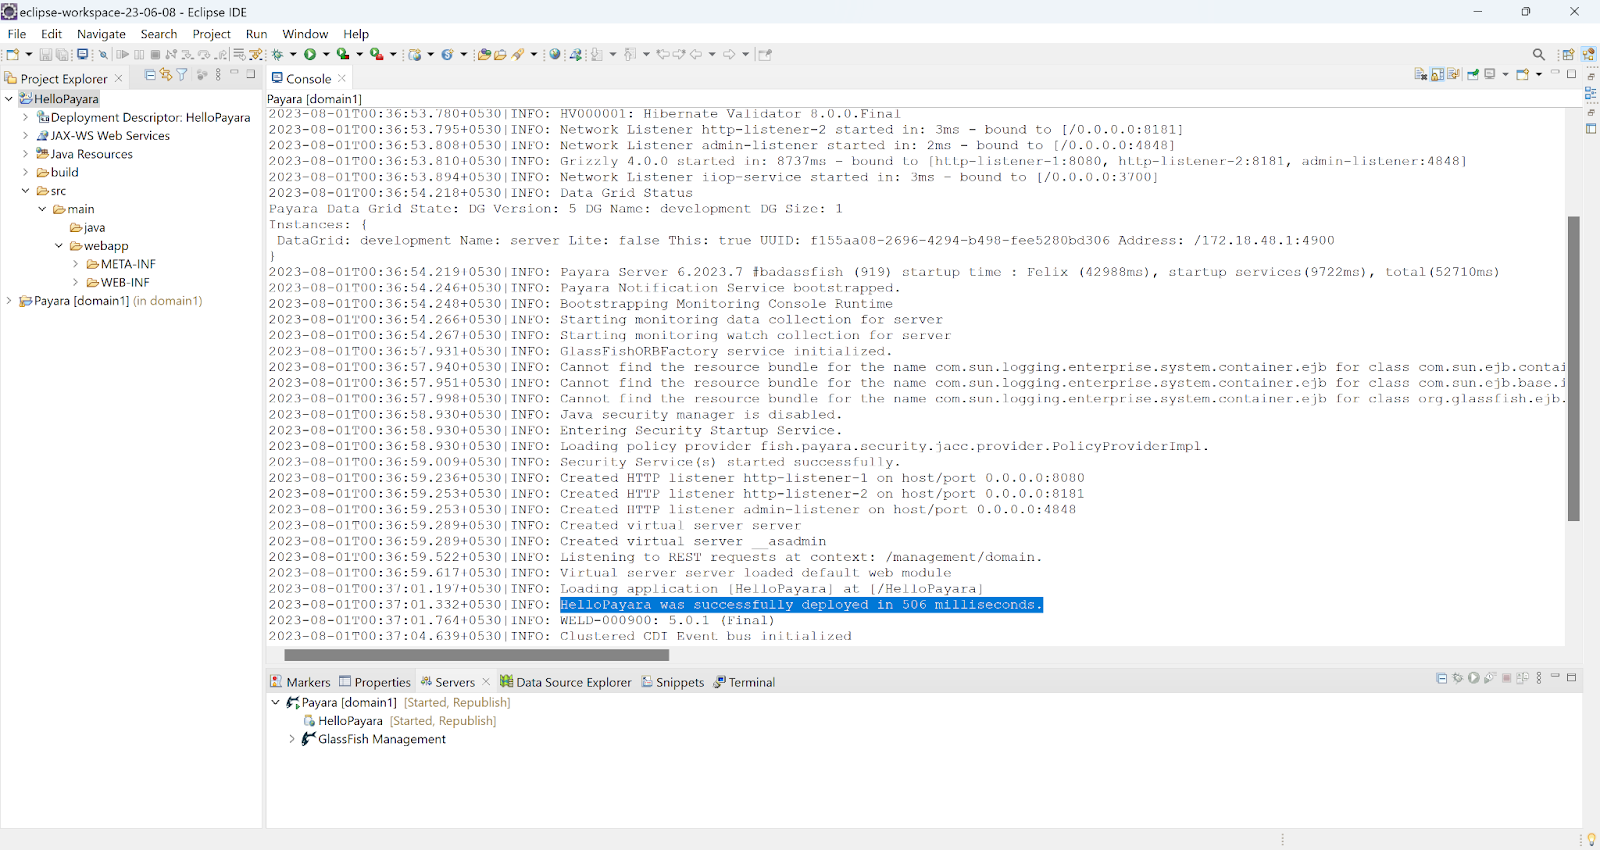
- Right-click on the project and select "Run As → Run on Server".
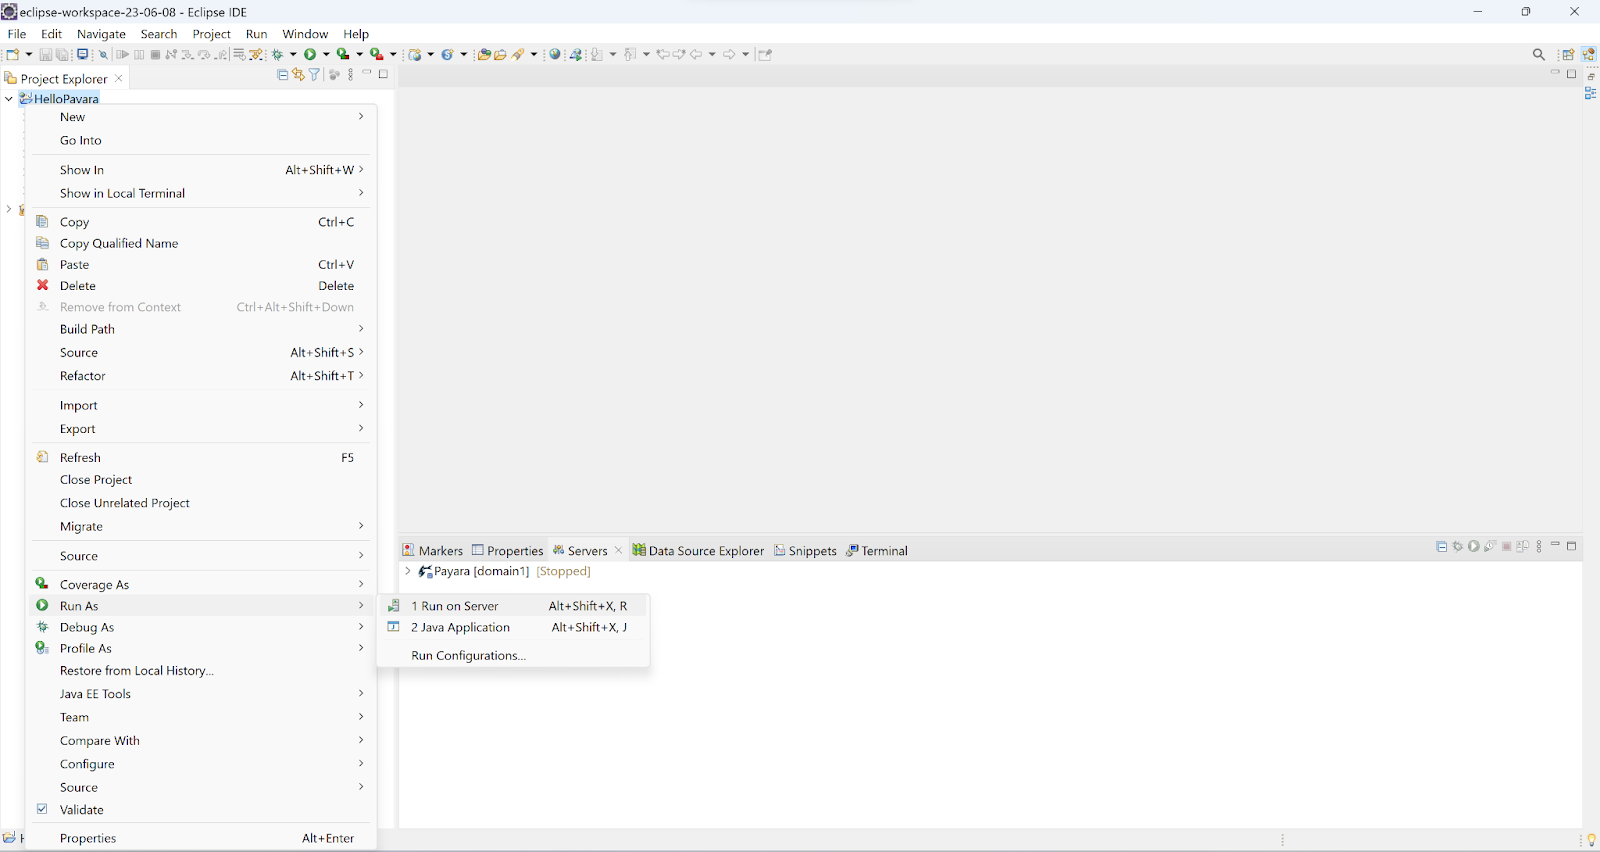
2. Choose your Payara Server runtime and click "Finish".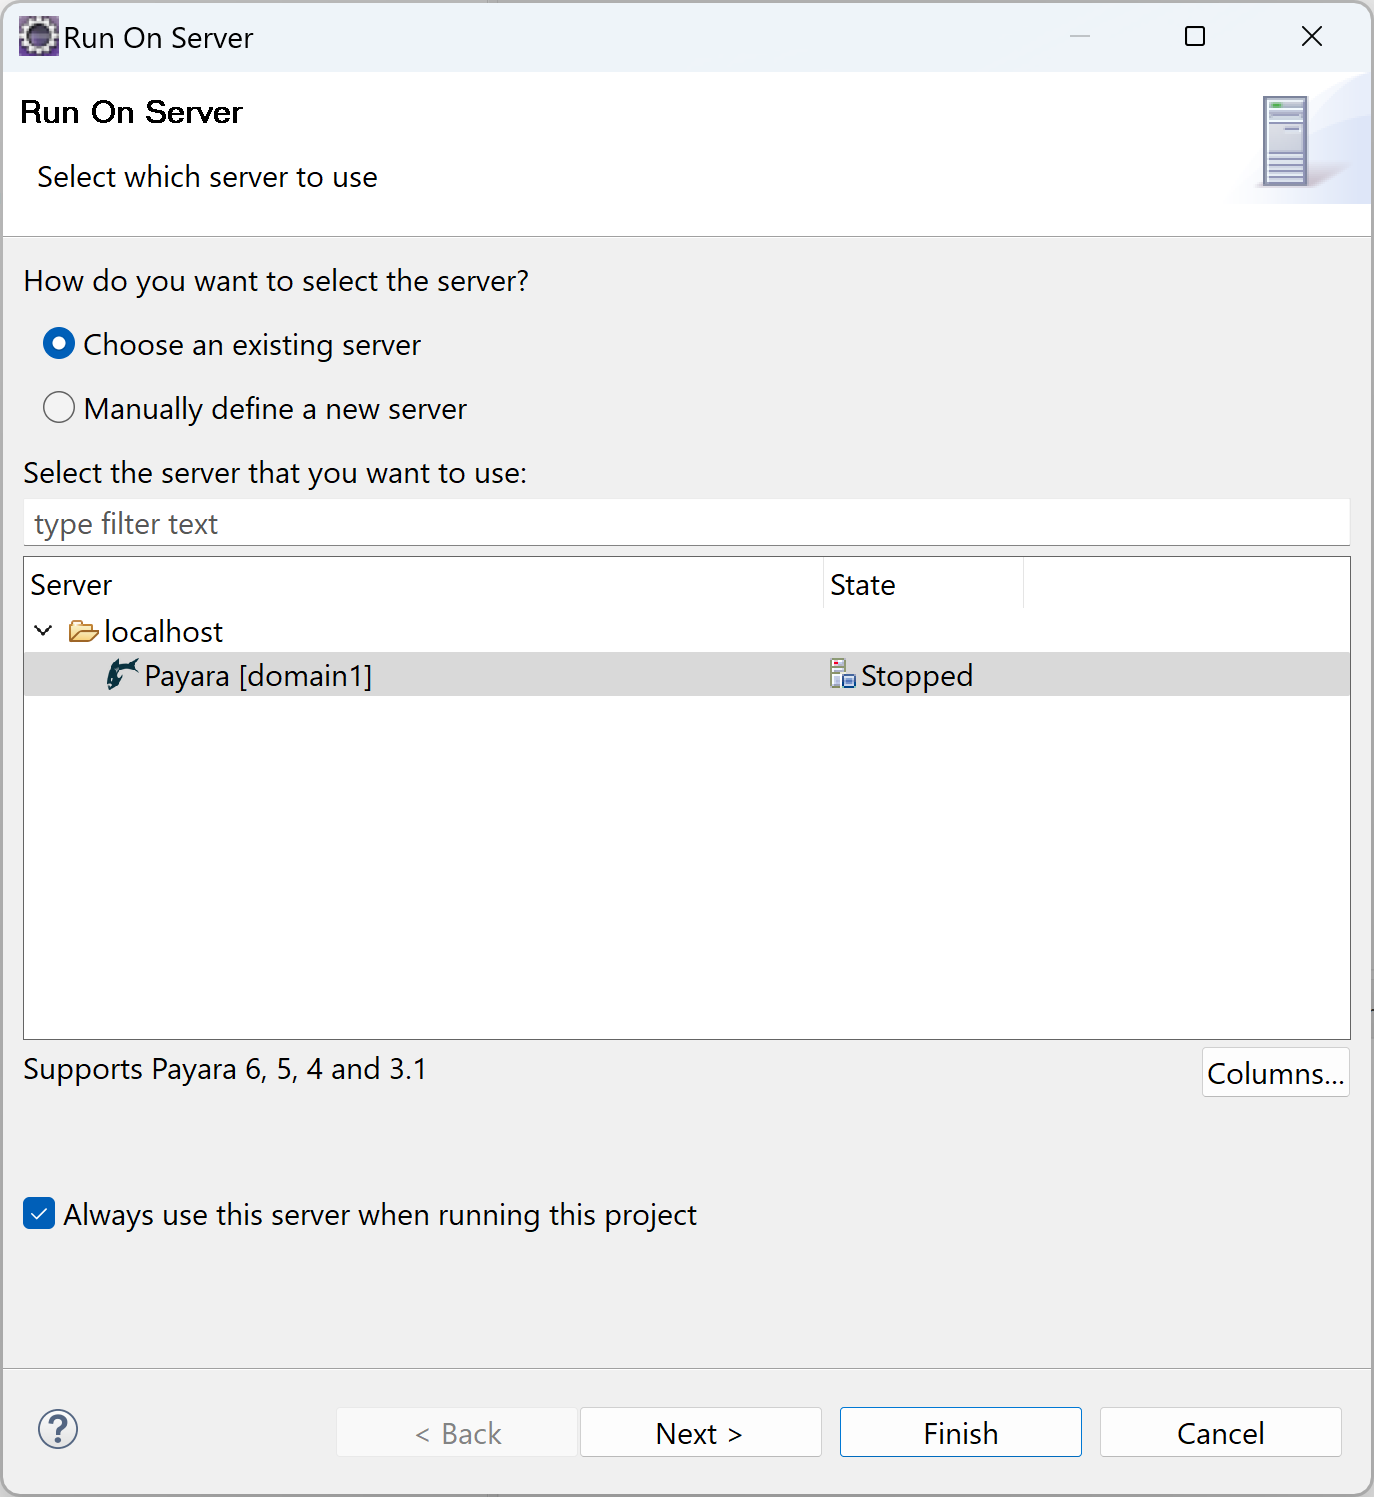
Debug Your Application
- To debug your application, set breakpoints in your code.
- Right-click on your Payara Server in the Servers view and choose "Debug".
- Eclipse will connect to the server in debug mode, allowing you to step through your code and inspect variables.
Conclusion
Additionally, it's worth noting that the Payara Eclipse tools also provide support for Payara Micro, a topic that will be covered in our upcoming blog post. Stay tuned for more insights into utilizing Payara Micro within your development workflow.
- How To Use The Payara IntelliJ plugin for Smoother Jakarta EE Development
- How to Use the Payara Tools in Apache NetBeans IDE