
Published on 22 Aug 2018

*Note: This blog is updated for compatibility with Payara Server 5, from our original post created for Payara Server 4:
https://blog.payara.fish/forwarding-requests-from-apache-to-payara-server-on-ubuntu
Introduction
In this blog series, we will aim to give an overview of the basics of using Payara Server in a production scenario using Apache Web Server (sometimes called httpd) and Ubuntu. Many of the concepts described in these blogs do not rely on the tools we are using here and can be applied to other scenarios.
Our aim is to configure the following:
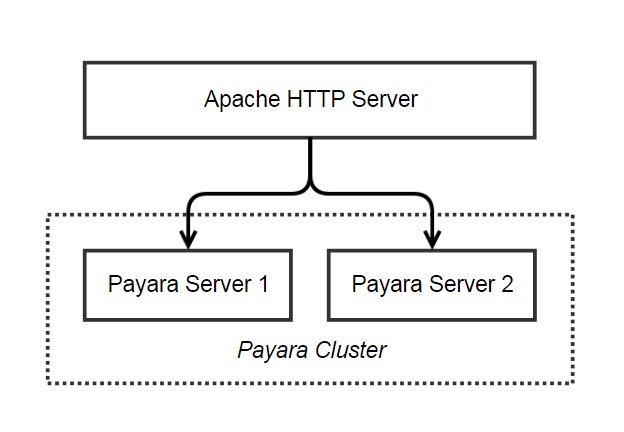
Here we have an Apache web server which will be exposed to our users. Their requests will be forwarded to one of two Payara Server instances. From here, we will investigate using sticky sessions based on the JSESSIONID cookie to ensure each user interacts with the same Payara Server, as well as session replication to ensure that, if one Payara Server goes down, the other will be able to handle the existing sessions seamlessly.
In the first blog of this series, we configured our Apache Web Server. Our next step will be to set up request forwarding to send traffic to Payara Server. If you need guidance on installing Payara Server on Ubuntu, we already have a blog post covering the installation of a JDK and Payara Server which we would recommend you read before continuing with this blog.
What is Request Forwarding?
Request forwarding (or proxying) is where a server receiving web traffic sends it on to another destination. These can be used to hide a users real location, to keep internal systems from view, or to manage performance. As with most web servers, Apache Web Server can be extended with modules which give it the ability to forward requests to a server, and proxy the responses. This means that you can use Apache as an intermediary which saves the trouble of specifying port numbers or precise IPs and lets the user receive responses from the same server (rather than clicking on http://localhost and having the address bar read http://localhost:8080).
Configuring Request Forwarding Between Apache Web Server and Payara Server
As mentioned in the previous blog, this may differ by distribution; in this post, we will deal with the package available in Ubuntu's repository. The Ubuntu package contains the Apache binaries, but also has extra "helper tools" to manage the configuration files. On Ubuntu 18, the two modules which we need to add to Apache are part of the apache2 package which we installed previously. It can be installed from the repository using:
sudo apt install apache2Note that prior to Ubuntu 16.04 you will need to use "apt-get" in place of "apt".
We will install two modules to enable basic http request forwarding - mod_proxy and mod_proxy_http. With Ubuntu, the helper tools manage the installation of these modules - to make it even easier the tools will seek out their dependencies and enable them too. Helpfully, mod_proxy_http requires mod_proxyto work, meaning our command is as follows:
sudo a2enmod proxy_httpNote that in these commands we can omit the "mod_" prefix
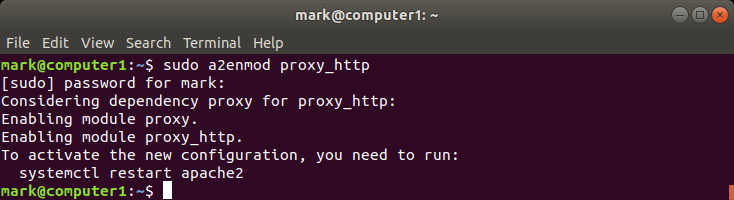
If you wanted to disable a module, there is a companion tool to a2enmod called a2dismod which is used in the same way.The tool has detected the dependency and has also enabled mod_proxy. If you had a series of modules you wanted to activate you can add them after proxy_http, separated by single spaces.
We will restart the server later as we also need to change the configuration
The apache2 package on Ubuntu has an example site configuration called "000-default". The configuration file for this site can be found in the folder /etc/apache2/sites-available and is symlinked to the sites-enabledfolder.
Apache Configuration File Structure
Generally, you will see internet guides refer to httpd.conf as the configuration file to edit. This is just the default "parent" configuration file. In Debian/Ubuntu systems (and their derivations, like Linux Mint), the file to look for is apache2.conf.
This file is read, and its directives applied, from top to bottom, so if you have set the same property to two different values, the second will apply. (More accurately, the first will only apply until the second setting is read).
This file can also specifically "include" files and folders (note that wildcards work too). These will be read in and merged with the main configuration at the point where the "include" statement is written. So the very last line in the main configuration file (if it is not specifying another file) will be the last line of configuration to be set, no matter what.
The default page in a new installation for Apache in Ubuntu can be found in /var/www/index.html and gives a good overview of how this works in detail,
Creating a New Site Configuration
We will not be using the default configuration because we will need to add in some specific behaviour. Copy the old configuration from sites-available and rename it something memorable.
sudo cp /etc/apache2/sites-available/000-default.conf /etc/apache2/sites-available/payara-site.conf
Open the new file in your preferred text editor as root. You should see something like this:
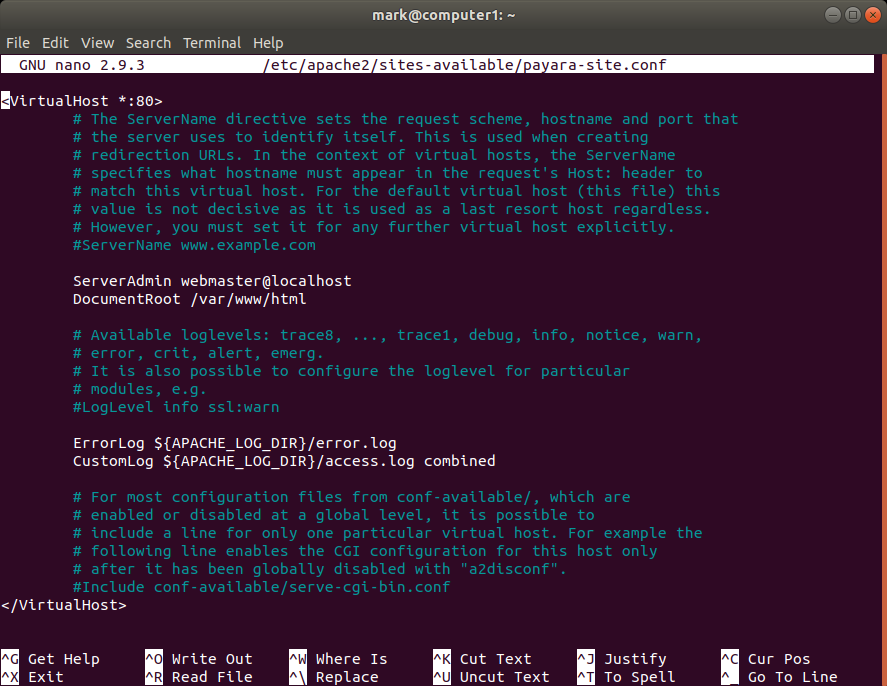
The <VirtualHost> element contains a series of directives which tell the server how to respond to the listed incoming requests. In this example, <VirtualHost *:80> handles all responses arriving at the server on port 80. For a more detailed explanation of the VirtualHost tags see the Apache documentation.
We need to add two lines within the <VirtualHost> tags to tell Apache how to deal with incoming and outgoing traffic - one to tell Apache where to send requests, and another to tell Apache where the responses should be seen to come from. So a user visiting http://localhost can be forwarded to our application server at http://localhost:8080/,and replies directed at http://localhost:8080/ instead get forwarded so the user sees them as coming from http://localhost.

To manage the incoming traffic, add the line:
ProxyPass / http://localhost:8080/
This directive tells Apache to send everything after the server domain name to http://localhost:8080, as though the user had gone directly to that URL.
ProxyPassReverse / http://localhost:8080/
This directive tells Apache to reverse proxy the URL so that, although the response comes back from the Payara Server instance on port 8080, the URL looks like it has come from Apache. These two directives, when used together, mean we can avoid complicated regular expressions with mod_rewrite.
Assuming the domain name we want to use is, for example, www.example.com, our configuration means that a request to www.example.com/myapp would actually be sent to the Payara Server as though the user had directly accessed www.localhost:8080/myapp.
Your file should now look like this (I have stripped most of the comments out to make it clear exactly what it necessary):
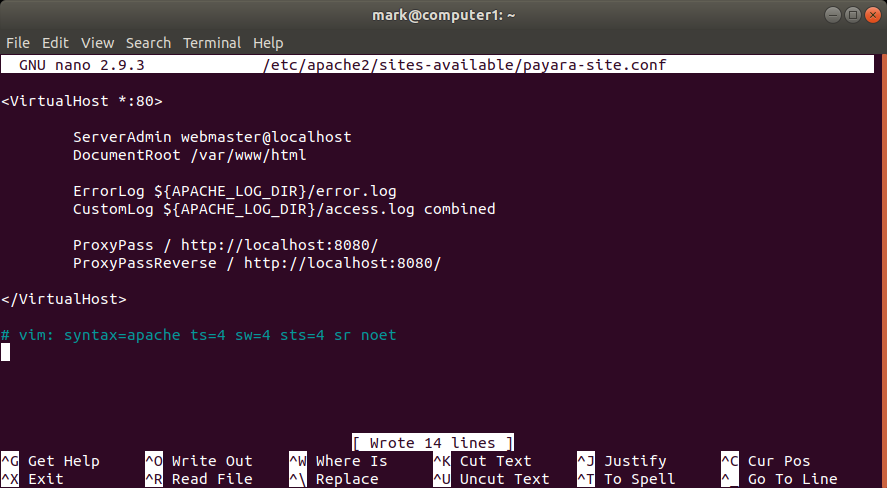
Save your file.
To disable the default site and activate our new configuration run the commands:
sudo a2dissite 000-default.conf
sudo a2ensite payaraSite.conf
Restart the Apache HTTP Server service (the restart we skipped earlier):
sudo service apache2 restartTo stop and start Apache HTTP Server It's:
sudo service apache2 stopsudo service apache2 start
Don't forget to start Payara Server:
/opt/payara5/bin/asadmin start-domain domain1
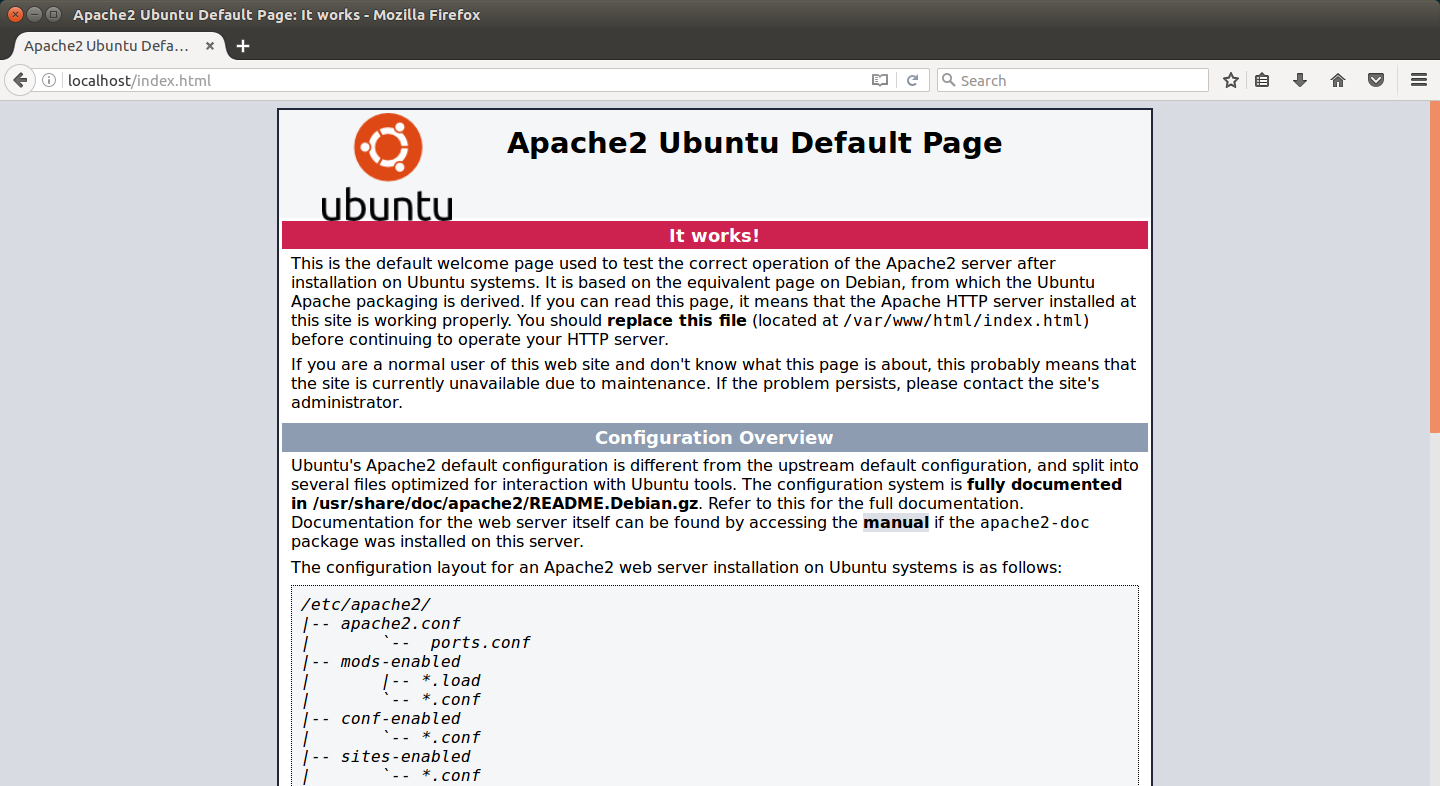
Before making this configuration change, visiting http://localhost/ would take us to Apache's welcome screen:
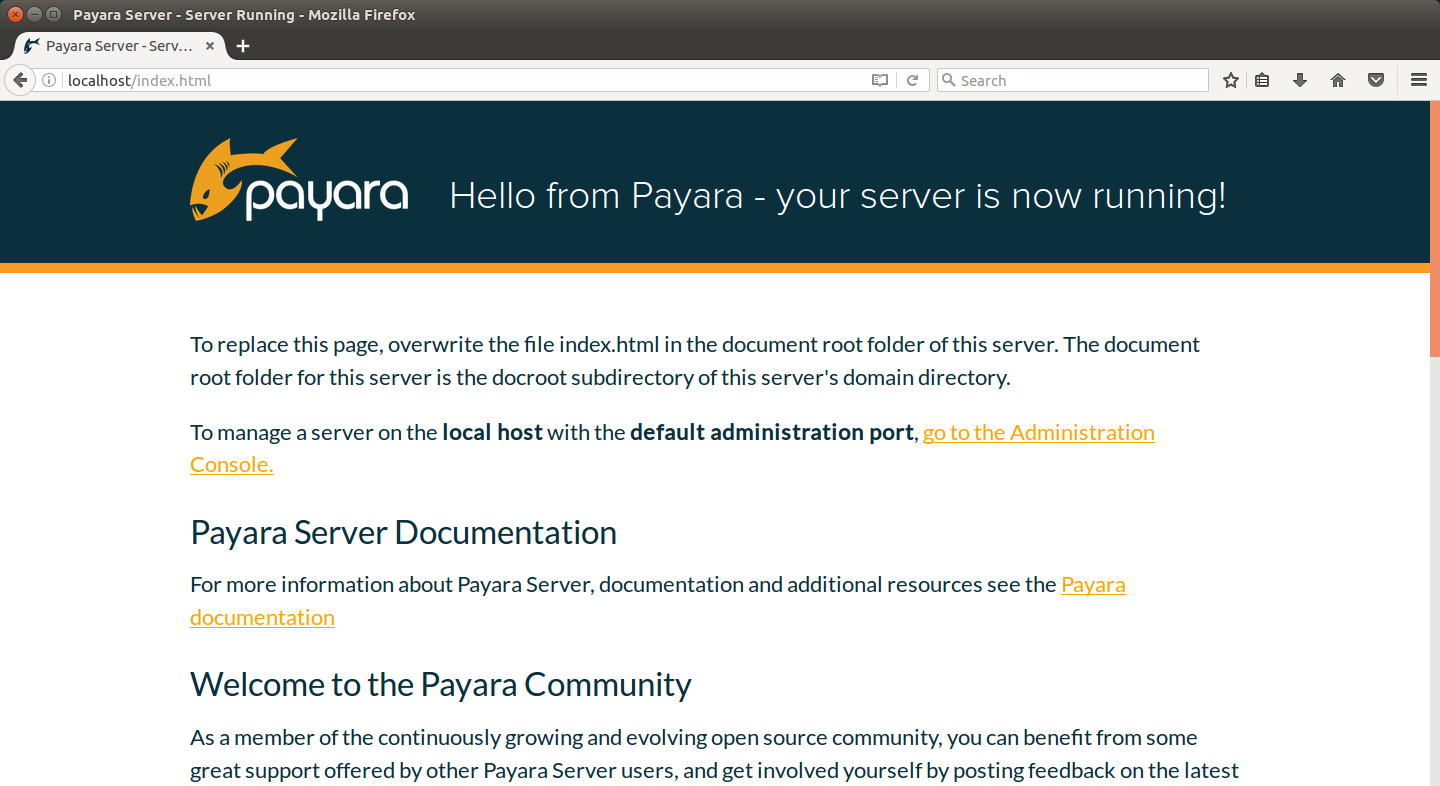
But now we have added in our proxy and enabled the new directives for our custom Apache config when we enter localhost/index.html we now get sent to Payara Server's welcome screen:
You Can Now Add Applications to Payara Server
So we now have an active Apache HTTP Server acting as our proxy (with the potential to add further modules), and a working Payara Server ready to have applications added to it.
We've gone through installing both servers, configuring Apache, exploring the file system, and had a very brief look at Payara Server's asadmin commands.
In the next blog we will be looking at how we extend the functionality of both Apache and Payara Server and looking at how we can get Payara Server to allow for scalability and further enhancements we can add to Apache to handle multiple back-end servers.
If you have any questions about this blog, or the Payara Platform in general, feel free to post a comment below.
Not using the open source Payara Platform yet?
