Published on 16 Jul 2018

You probably already know what clustering is, but you might not know that Payara Server 5 automatically clusters. If you use Payara Server 4, you have to manually set up clustering. Payara Server 5 introduces a convenient feature called Deployment Groups. Deployment groups do exactly as the name suggests: it allows you to group a collection of instances that will be the targets of your deployment.
Prerequisites
To follow along with this blog post you'll need:
- Two machines running any of the supported operating systems. In this example I use Ubuntu. They will need unique names (e.g. 'computer1' and 'computer2').
- Payara Server 5 installed on the first (download Payara 5).
- JDK8 installed on the second.
Configuring
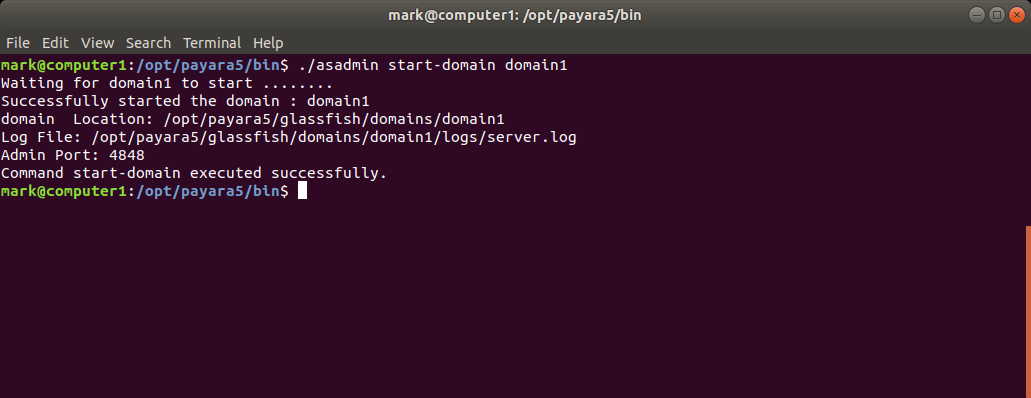
On computer1, start up Payara Server (note the install location may be different to your set up):
For this next step you'll need to be able to Secure Shell (SSH) to the second machine. You can do this by running sudo apt install openssh-server on the second machine.
- Visit the Administration Console in your browser http://localhost:4848 (on the first machine).
- Select Nodes in the left side menu.
- Click New.
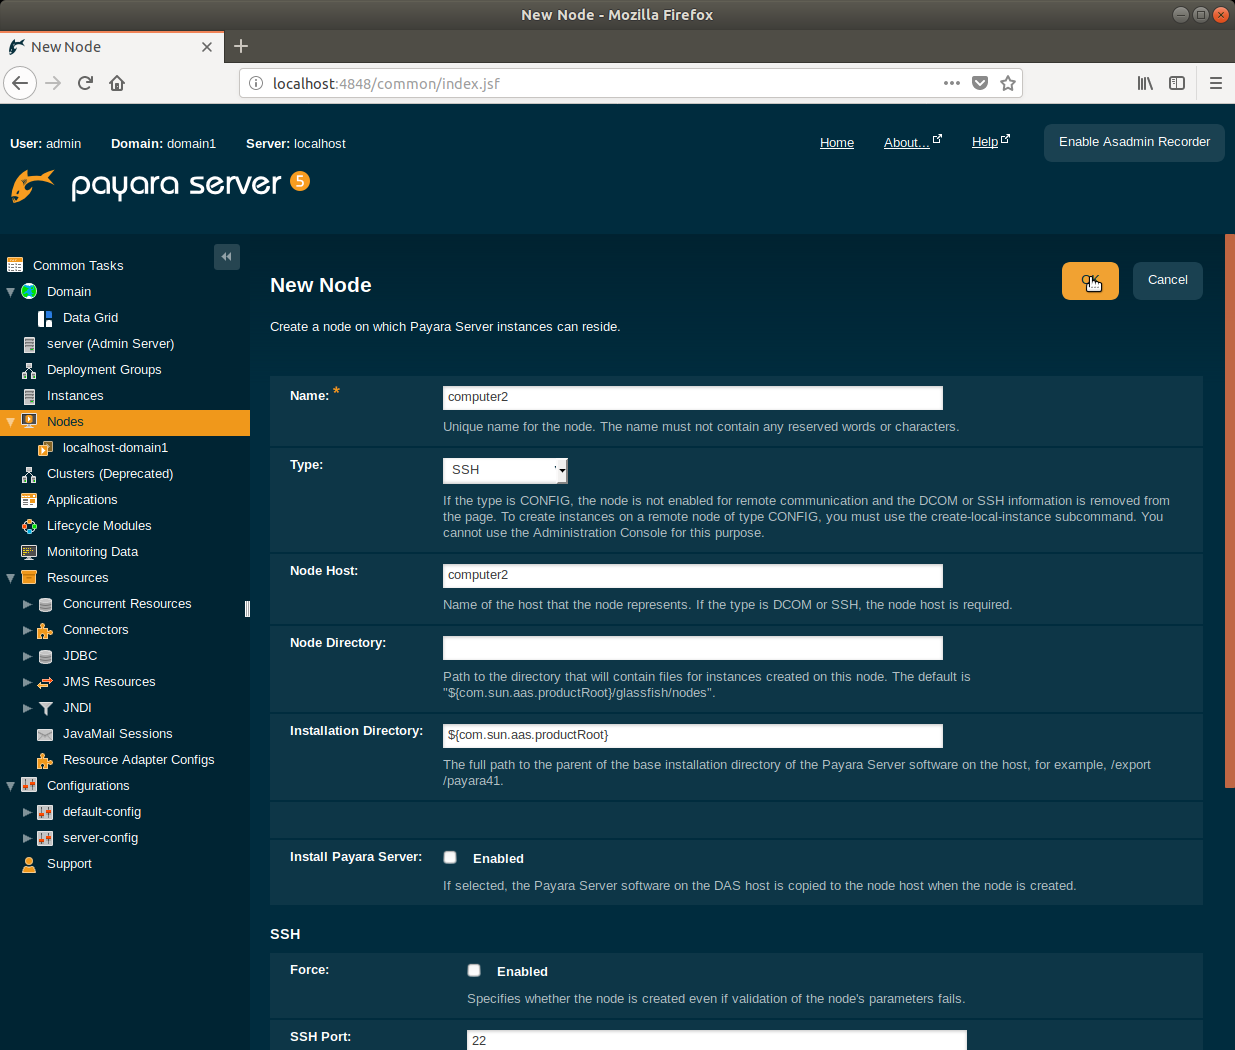
- Create a new node with these settings:
- Name: Give your node a unique, descriptive name to help you identify it later. I chose computer2.
- Type: Select SSH from the dropdown menu so we can set up remote access.
- Node Host: Enter the IP address for computer2.
- Install Payara Server: Enable this to automatically install Payara Server on computer2. Payara Server will create a zip archive of the local installation and copy it over to the remote node. The location of the installation can be modified by changing "Installation Directory" (which defaults to the same path as on the current host).
- SSH Port: This should be set to the SSH port - by default, 22.
- SSH User Name: This should be set to your username on the computer2.
- SSH User Authentication: For this example, we will use the password authentication, but with SSH you can also use either a key file or an alias to a password stored elsewhere.
- SSH User Password: This should be set to your password on the computer2.
- Click OK.
You will now see 2 nodes. The 'second-instance' node we just created, and the node you're working from: localhost-domain1
Now to put these into a Deployment Group:
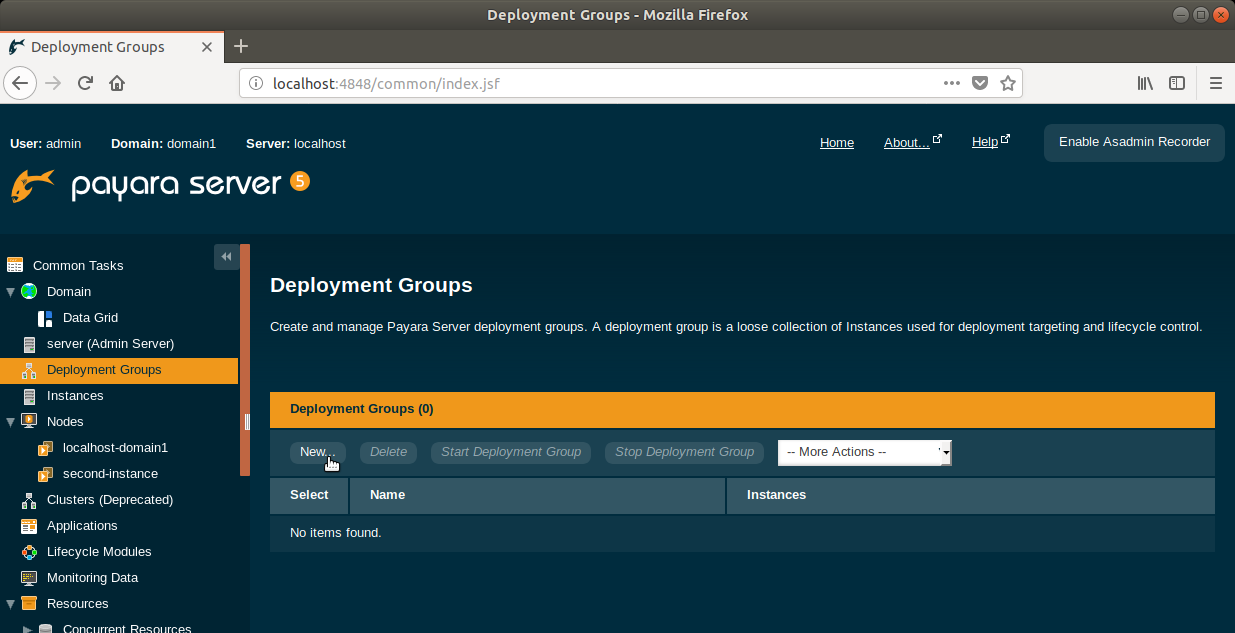
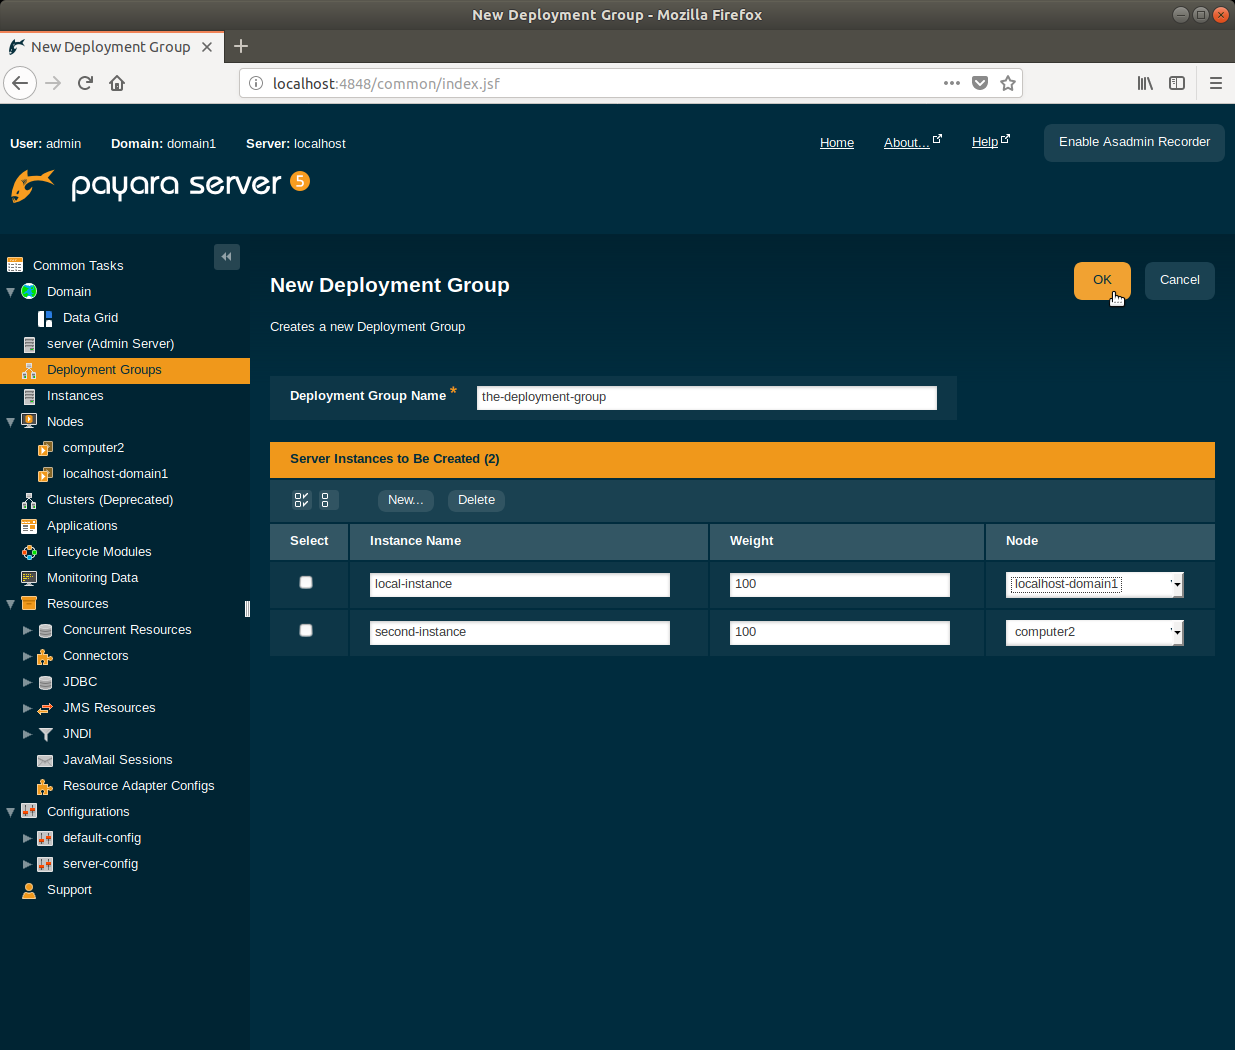
- Select Deployment Groups in the left side menu. Then select New.
- Give your group a name. I have chosen a rather unimaginative the-deployment-group.
At the same time we will create the instances:
- Select New under Server Instances to be Created.
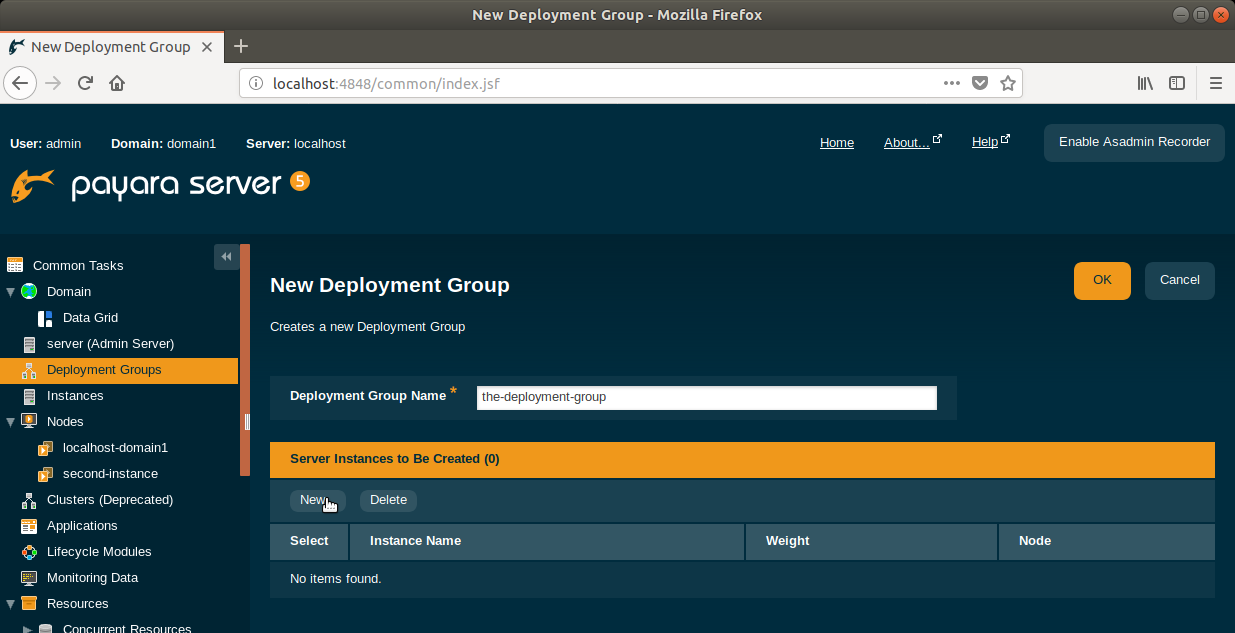
- Give your instance a name. I chose local-instance. Type 100 for the weight. Select node as localhost-domain1.
- Click New again.
- Create a second Instance. I called it second-instance. Type 100 for the weight. Select node as computer2.
- Click OK.
Your deployment group has now been created. Next we will build an example app and deploy it.
Getting and Building the Example
This section explains how to build our example jcache cluster example. If you haven't already got a copy, obtain the
- folder.
- Build it with Maven: mvn clean install. If you don't have Maven you can get it with sudo apt install maven.
In this folder there is now a target folder where the rest-jcache-1.0-SNAPSHOT.war has been created. Take note where this is in your file system. We'll need it to deploy in the next section
Before deploying we need to start all the instances within the deployment group with 2 clicks.
- Select the checkbox next to your deployment group, and click Start Deployment Group button.
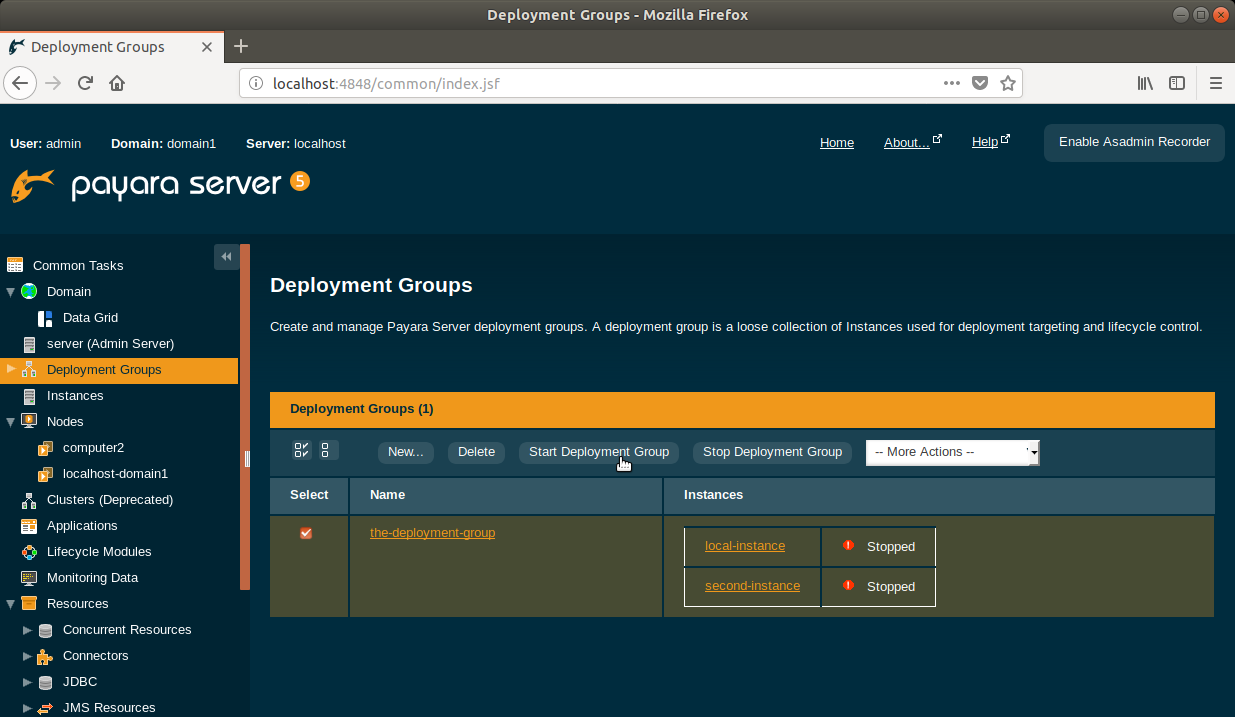
- Confirm the prompt box.
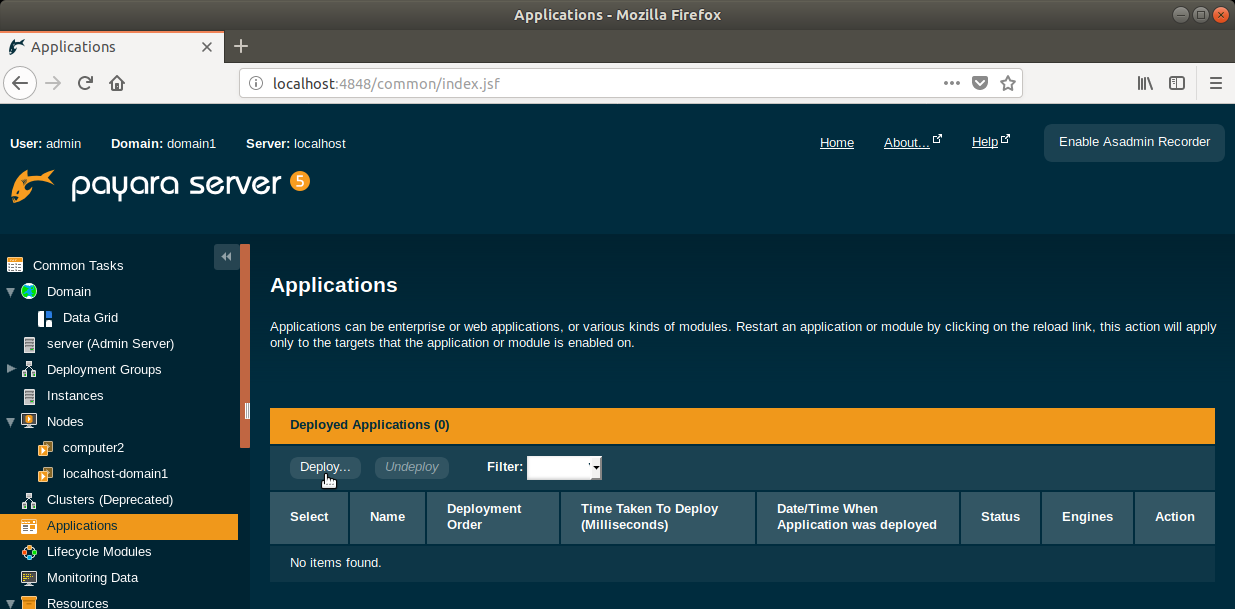
- Deploy by clicking Applications in the left menu. Click Deploy
- Browse to select the example application .war file we constructed in the previous section.
- At the bottom of the same page, select a deployment target of the-deployment-group.
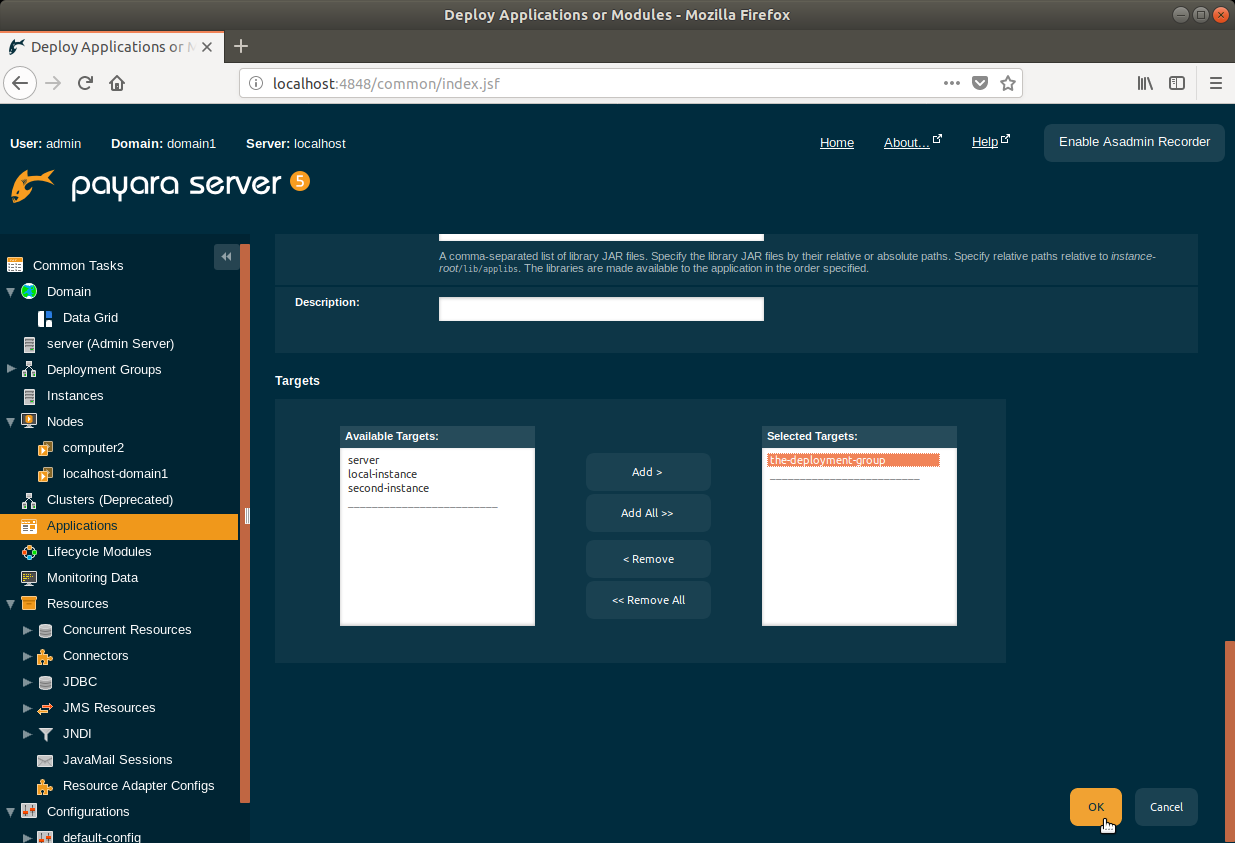
The application will now be deployed to Payara Server running on both computer1 and computer2. You could have more computers in your deployment group if you wish.
To demonstrate that the clustering is working we can use the JCache demo app to set and read a variable from each instance. We'll do this with curl (If you don't have it - sudo apt install curl).
First check the value for the default with curl "http://<hostname>:<port>/<application context root>/webresources/cache?key=payara"

Then set the value on computer1 with curl -H "Accept: application/json" -H "Content-Type: application/json" -X PUT -d "badassfish" "http://<hostname>:<port>/<application context root>/webresources/cache?key=payara"

And lastly check that value was transferred over to both instances from a single PUT on 1 instance with the first command again.

Summary
What we've done is installed Payara Server remotely whilst setting up a new node. The cluster would have been set up automatically. We then added the remote instance whilst creating a deployment group. Next we built a sample application and deployed it to the deployment group. It was then possible to demonstrate the cluster in action by setting a variable on machine1 and reading it from machine2.
Clustering can be done on more than 2 machines, and can be done across any of the supported operating systems.
If you're looking to implement clustering for a performance, or high availability system,
consider Payara Enterprise